How to screen record on Mac, and make it worth watching.
Practical guides to help you prepare, record, and explain. Useful with whichever recording tool you use today.
THE BASICS
How to screen record on Mac: the basics.
Every Mac can record its screen with the built-in Screenshot toolbar. Here is what to press, and where the file goes.
⇧⌘5
How do I start a screen recording on Mac?
Press Shift-Command-5 to open the Screenshot toolbar. Choose the entire screen, a selected portion or, in macOS Tahoe 26 or later, a single window, then click Record. QuickTime Player records the screen too: choose File › New Screen Recording.
⌘⌃Esc
How do I stop a screen recording on Mac?
Click the Stop button in the menu bar, or press Command-Control-Esc.
To your desktop, named “Screen Recording” with the date and time. A thumbnail shows in the corner first: click it to edit the recording, or wait and it saves. To save somewhere else, open Options in the Screenshot toolbar and choose a folder.
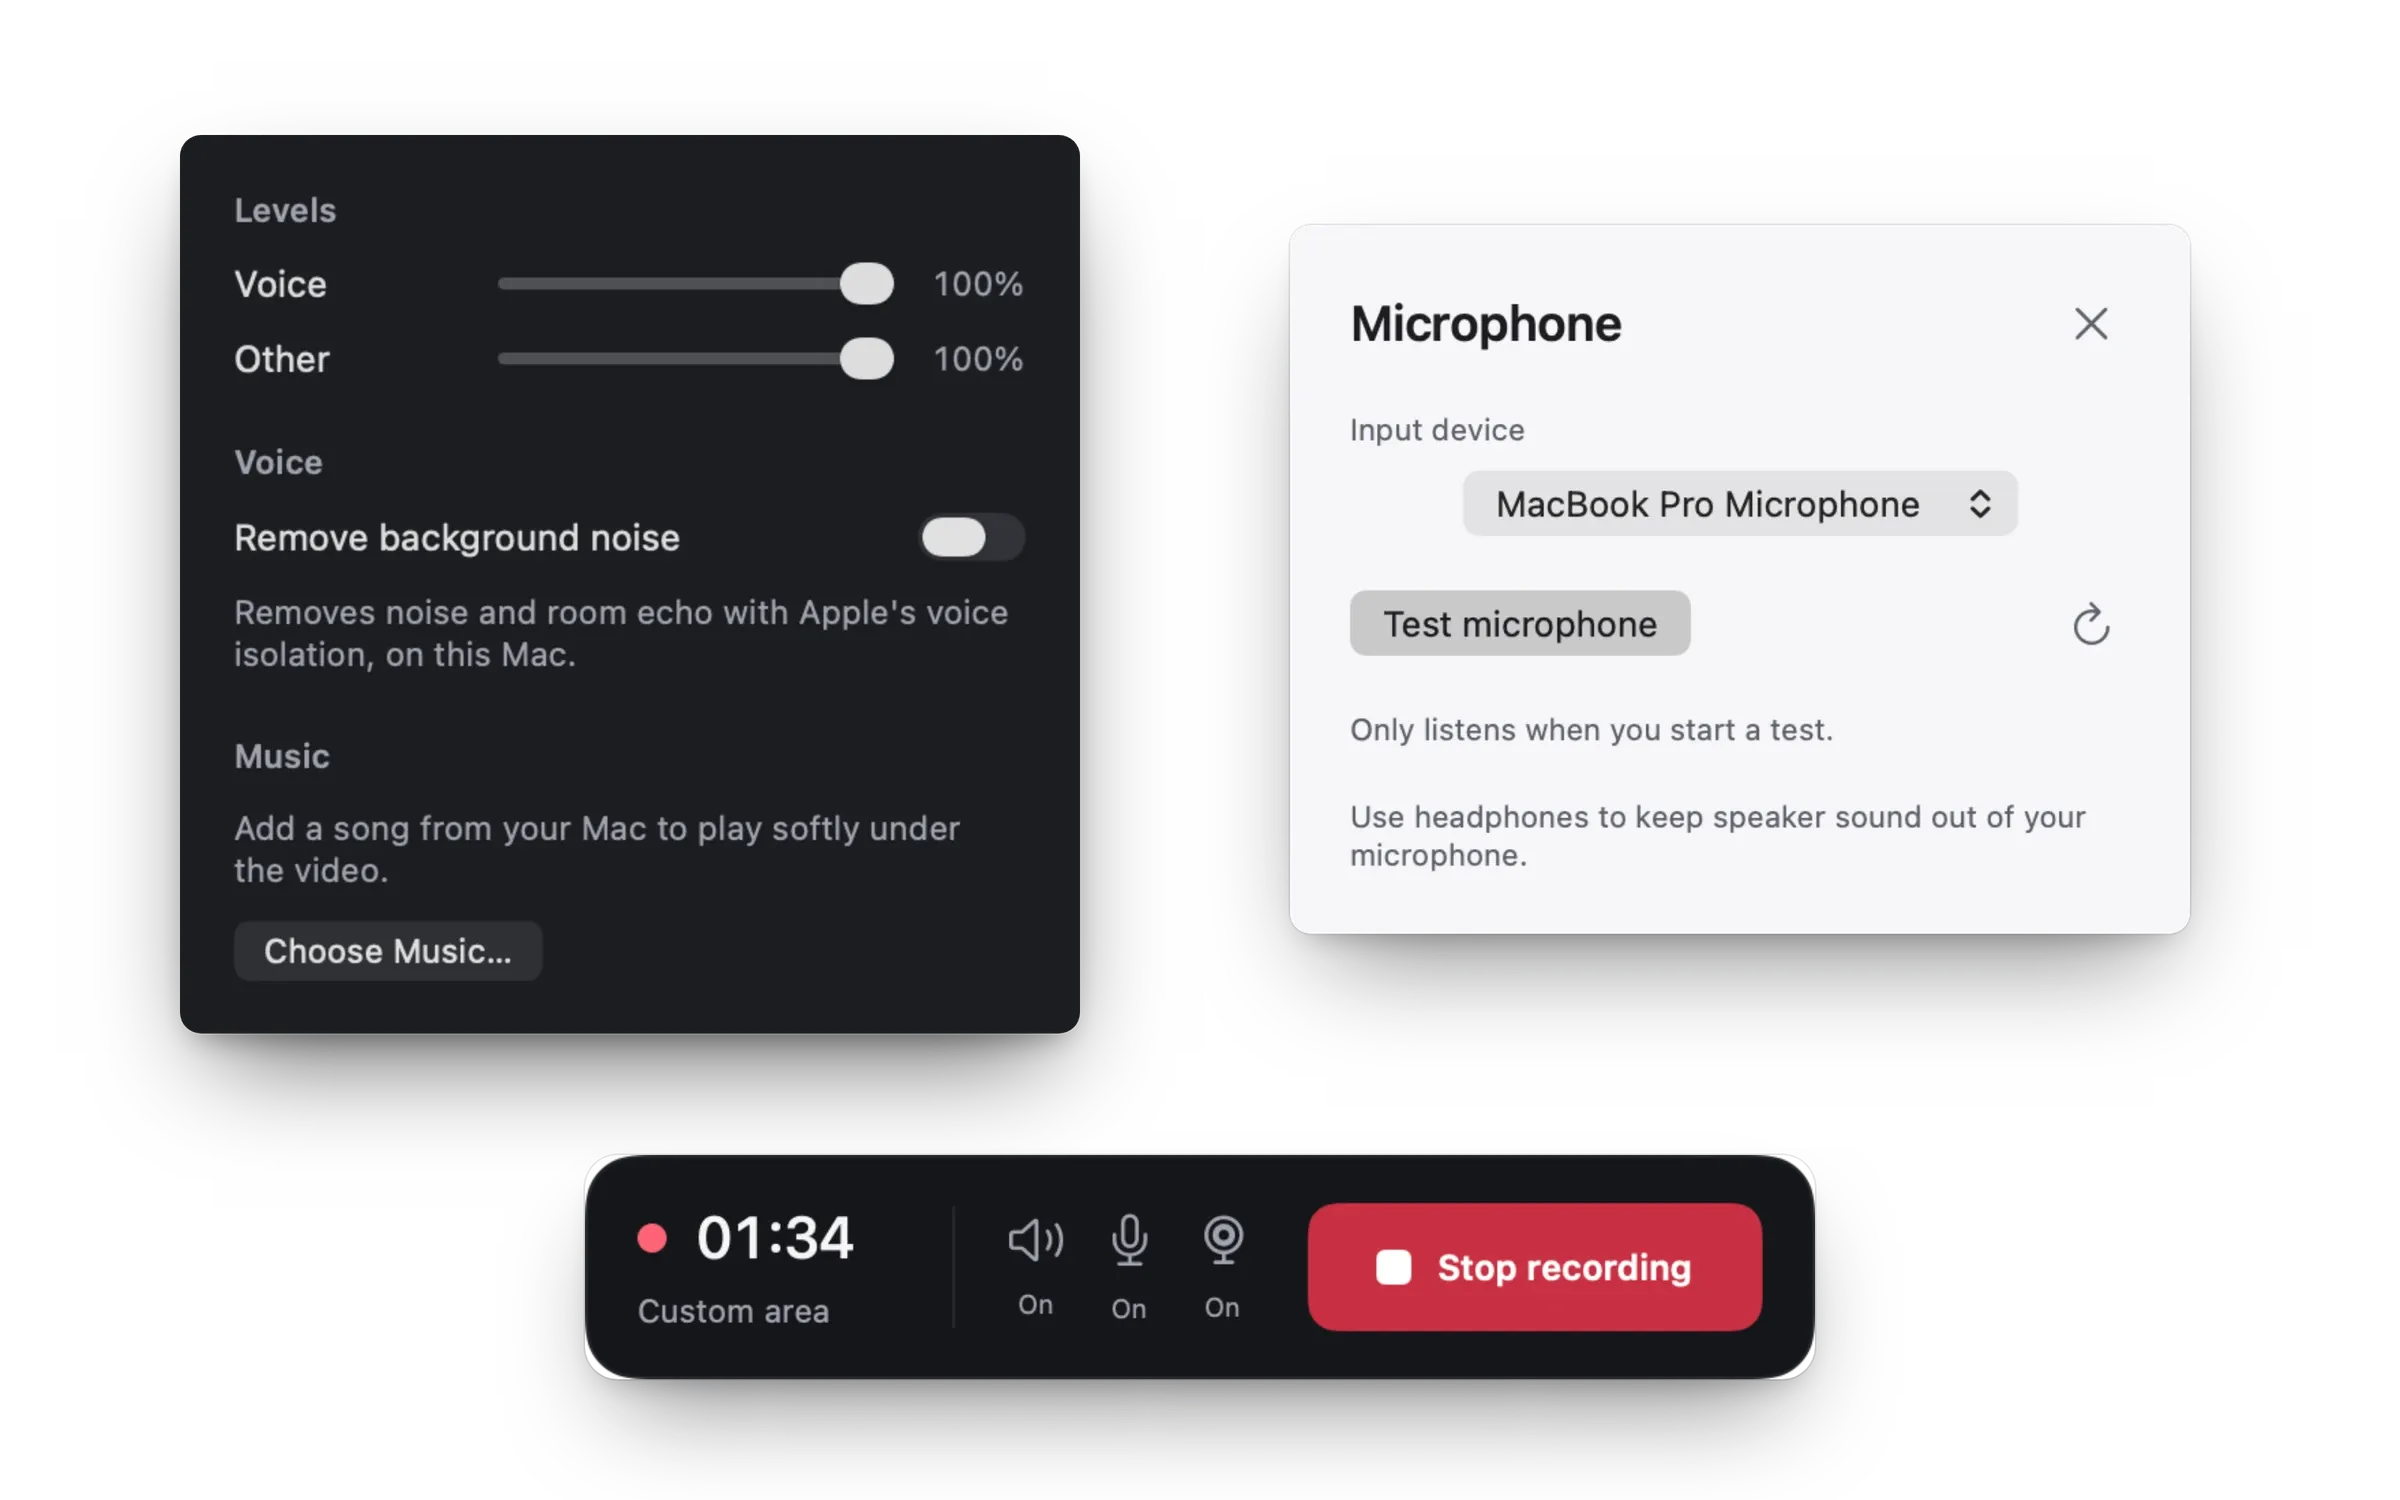
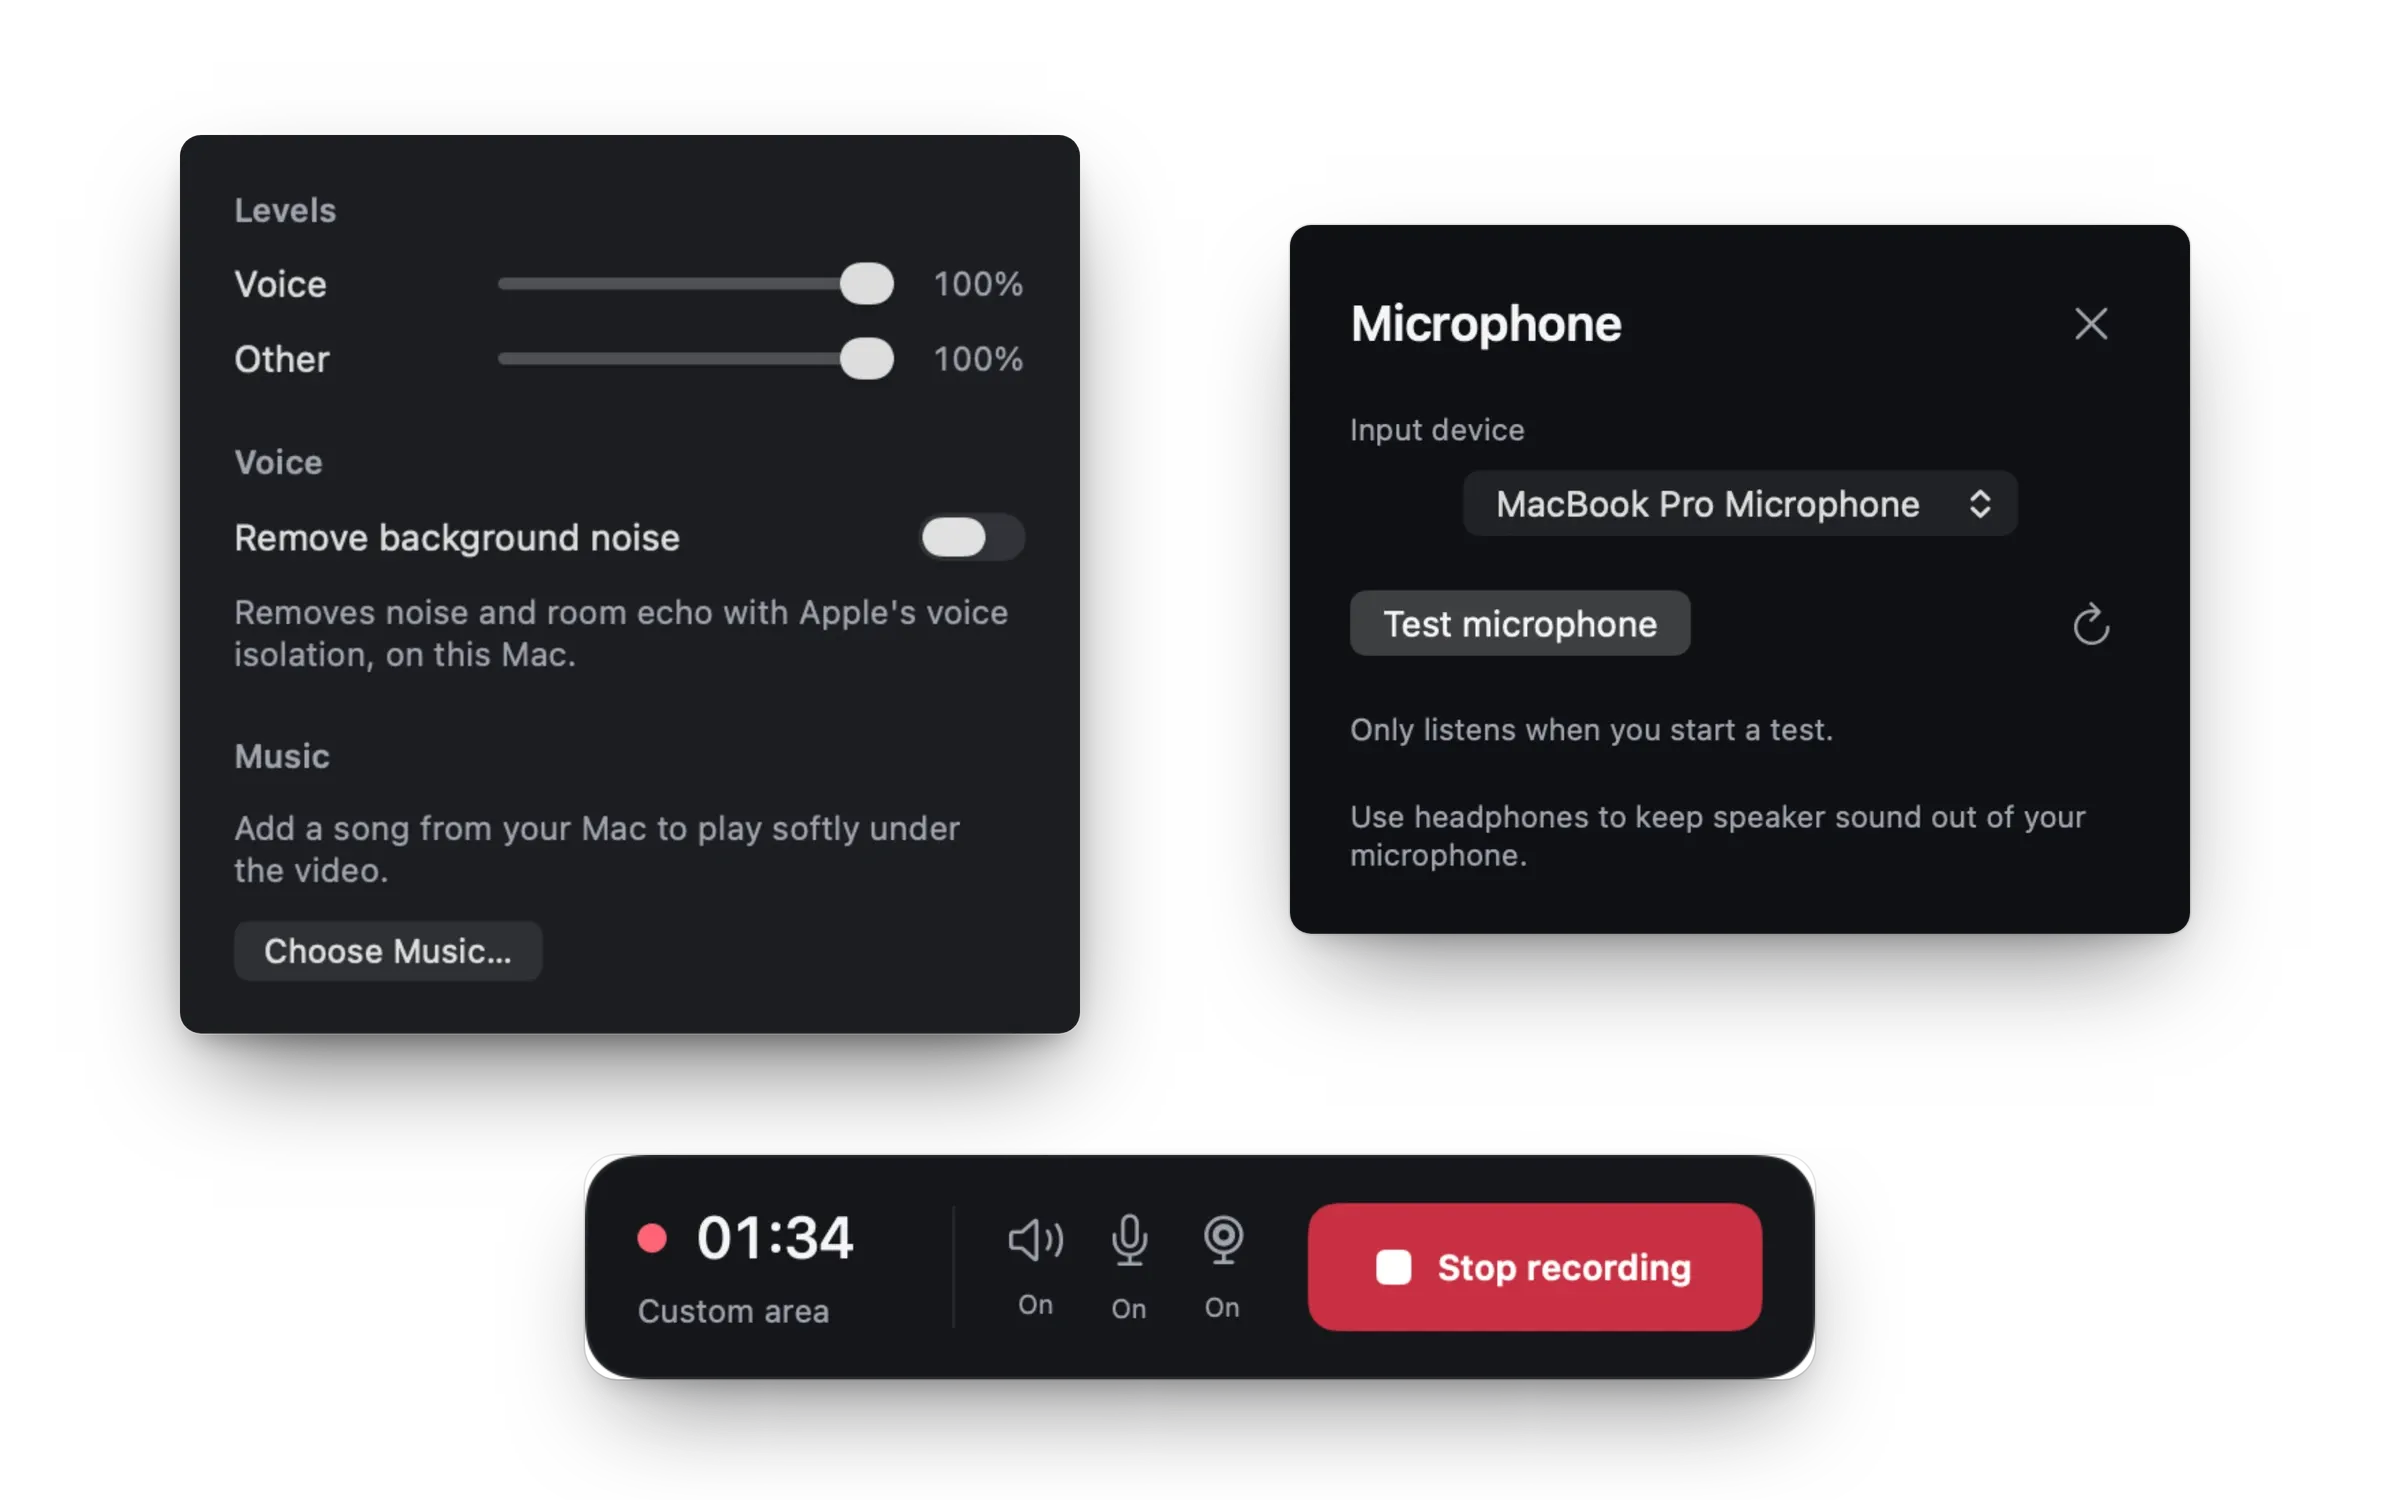
For your voice, choose a microphone in Options. For the Mac’s own sound, choose Include System Audio in Options on macOS 27 or later. On earlier versions, you need an app that records system audio.
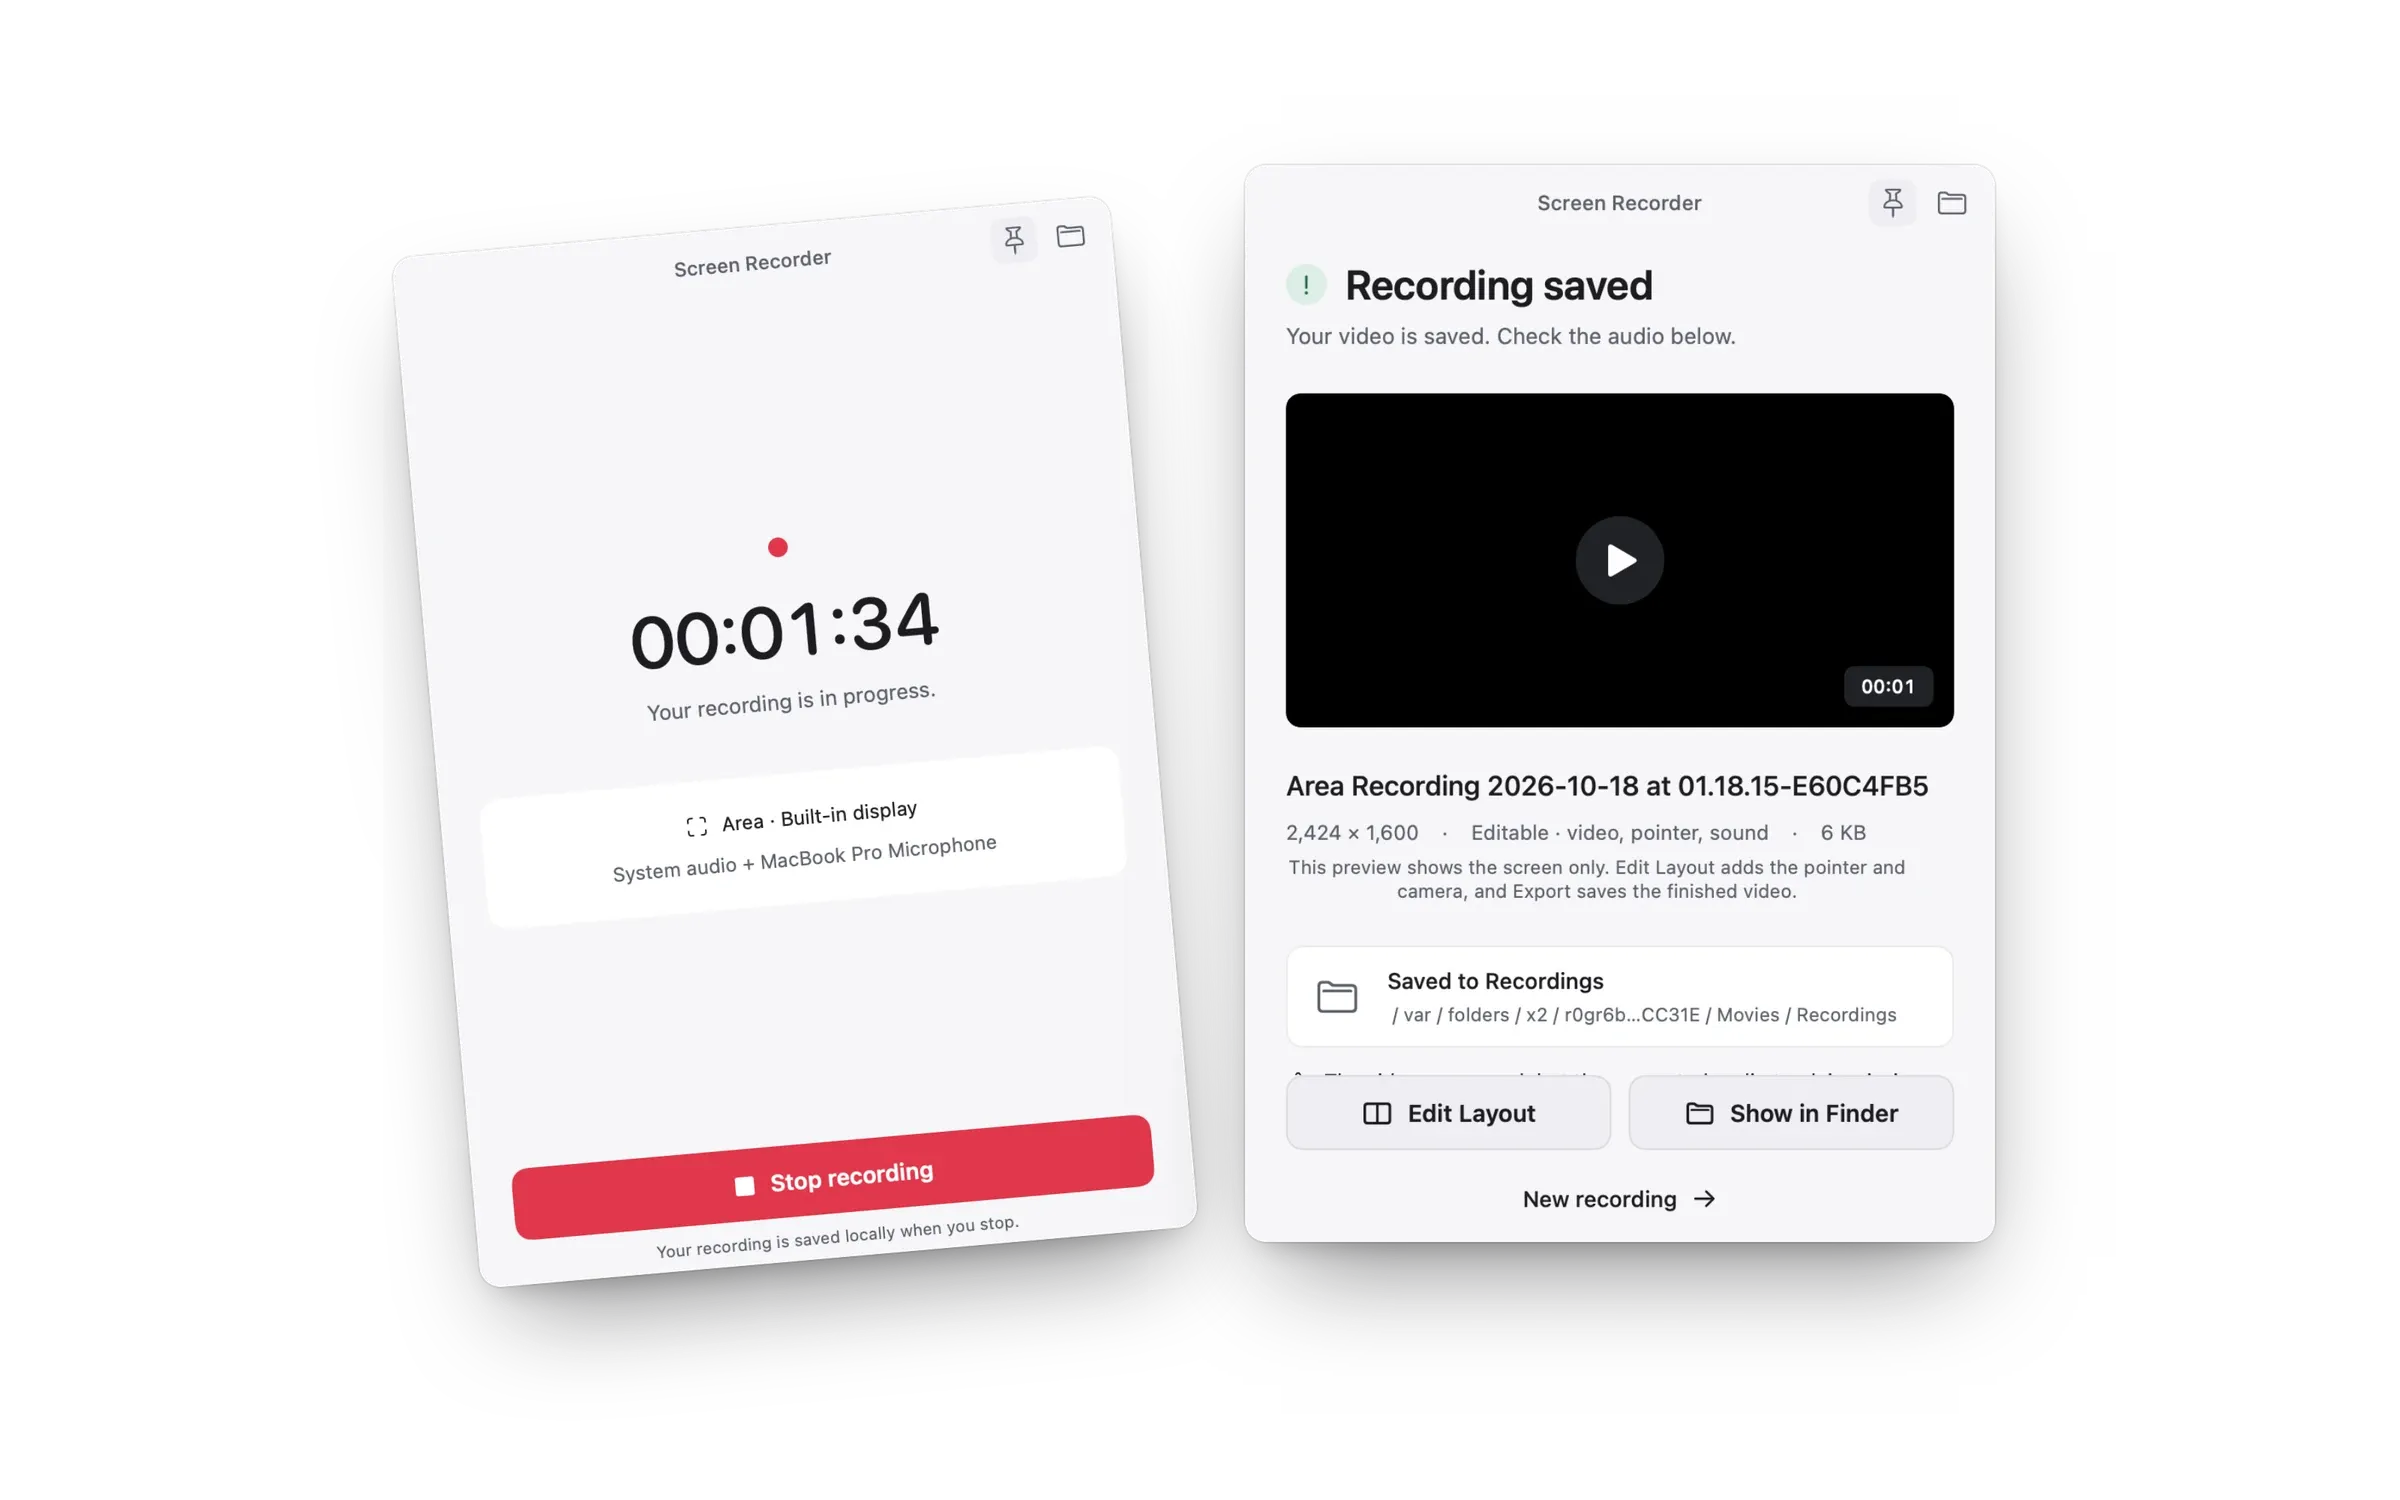
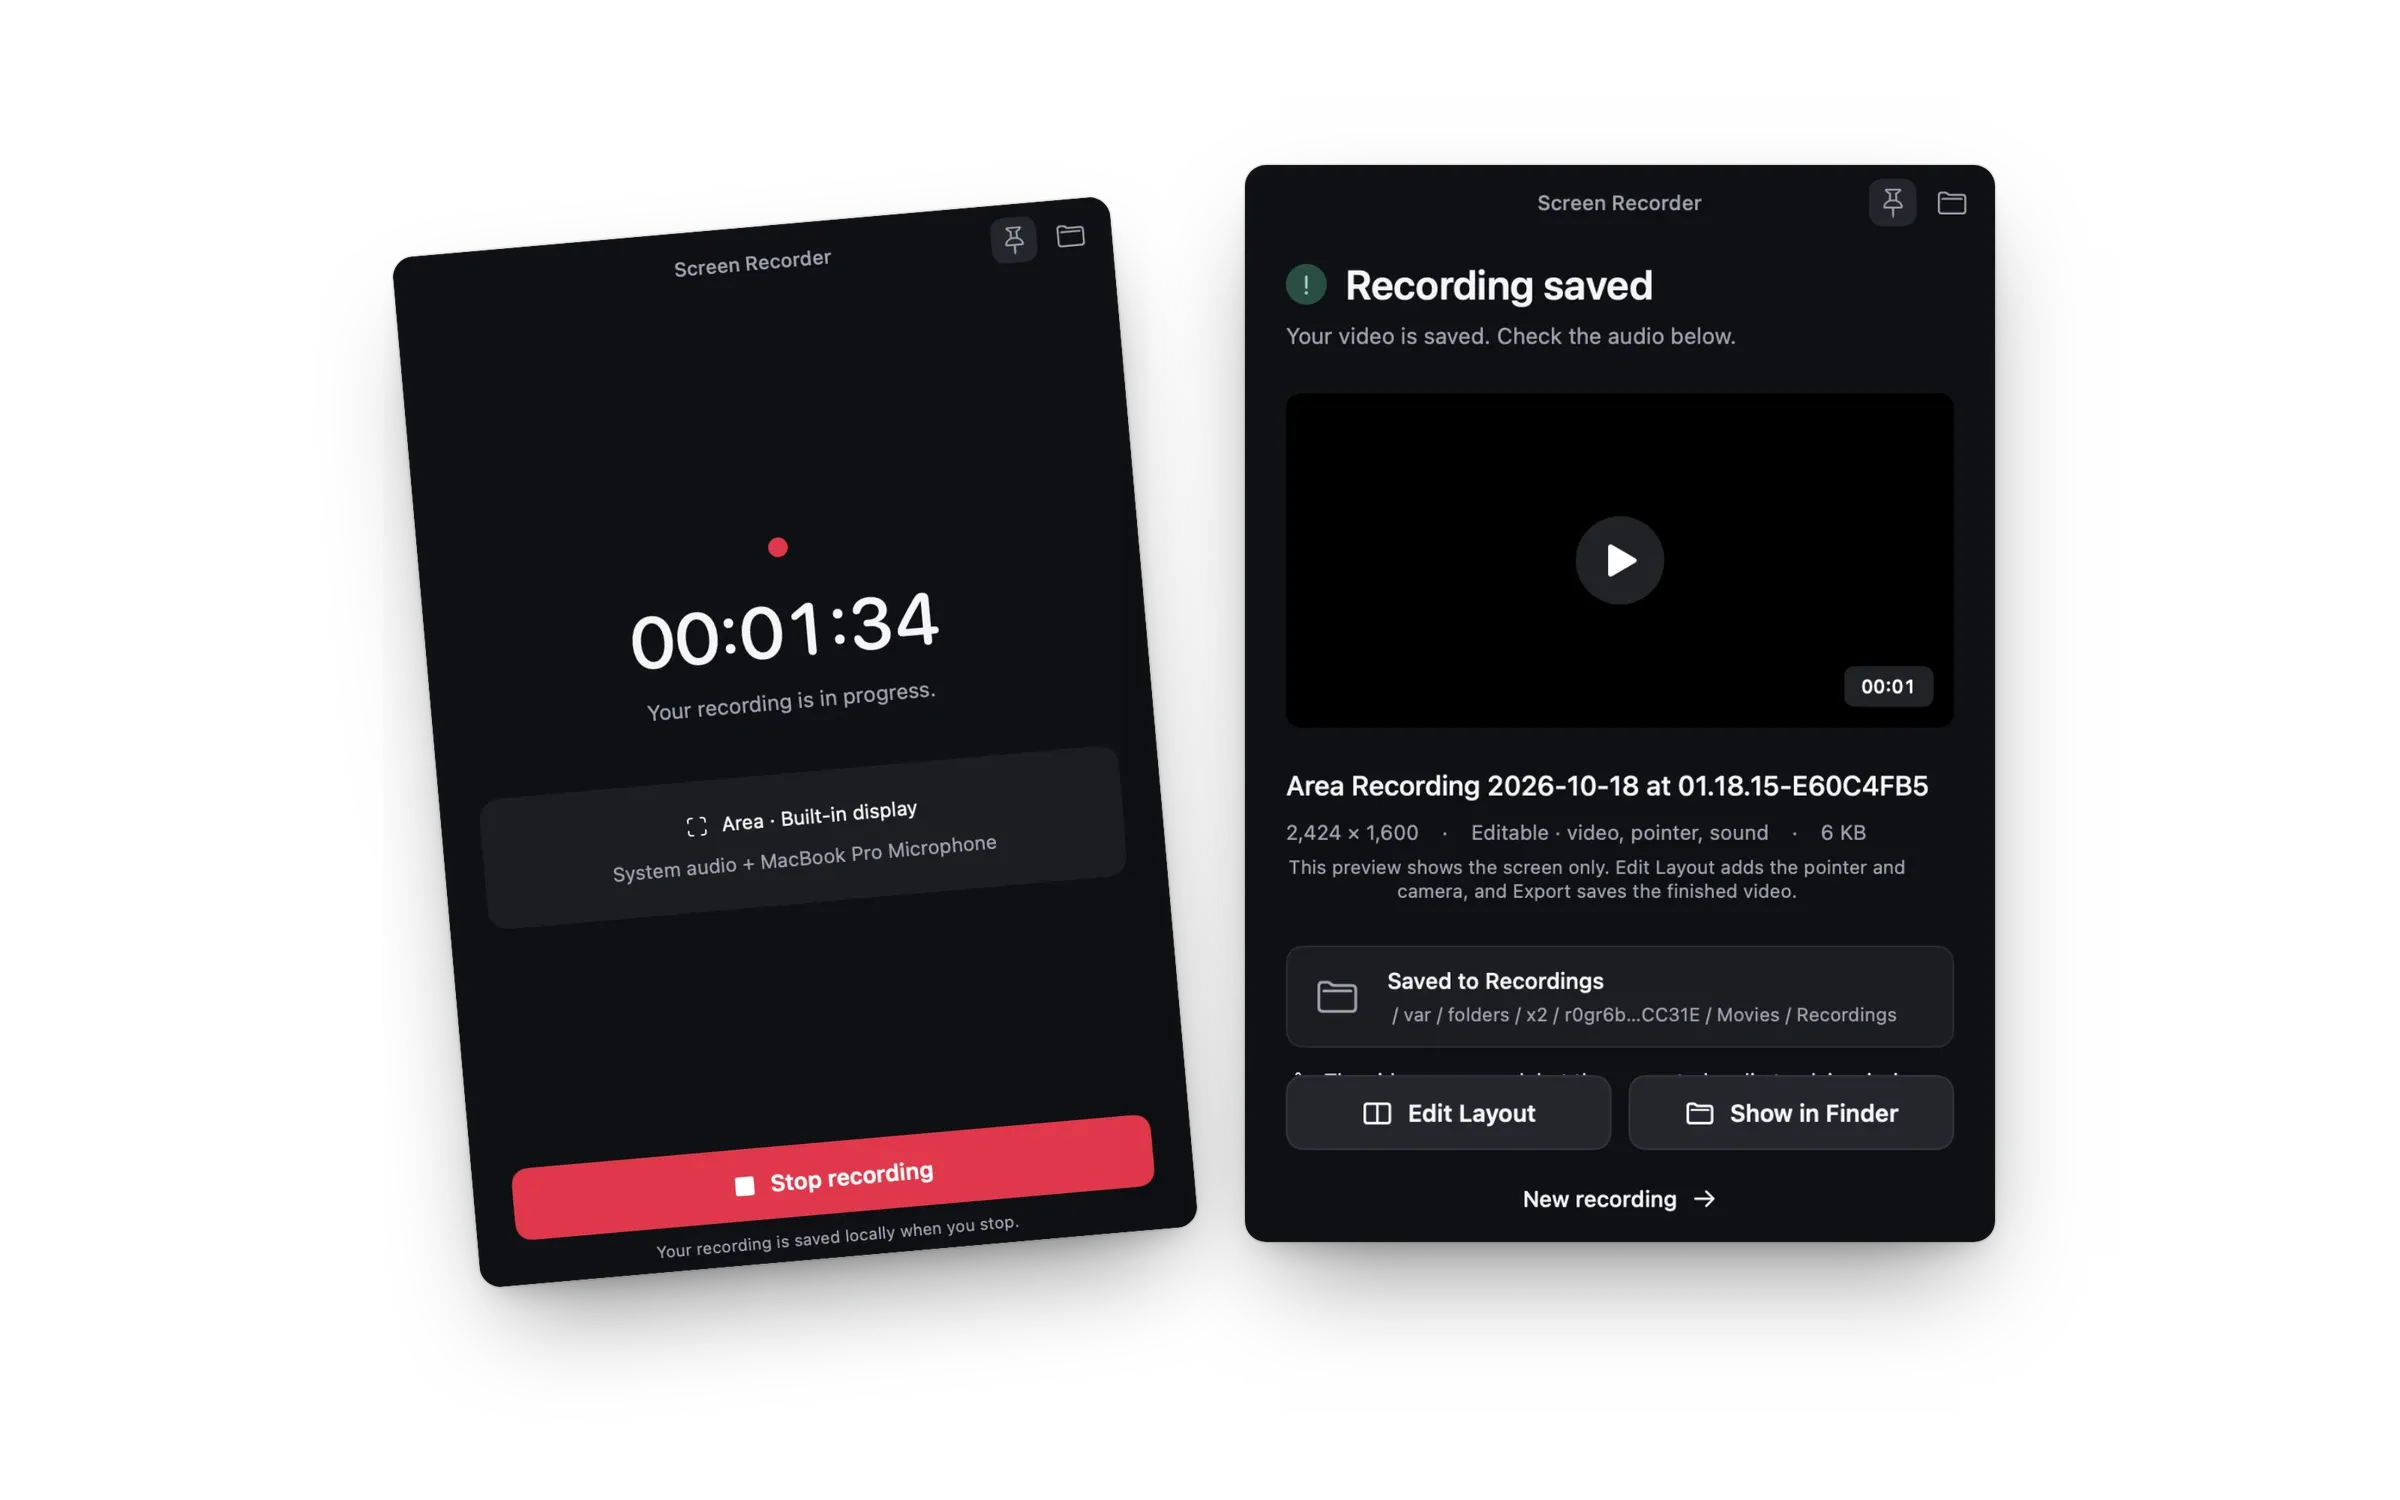
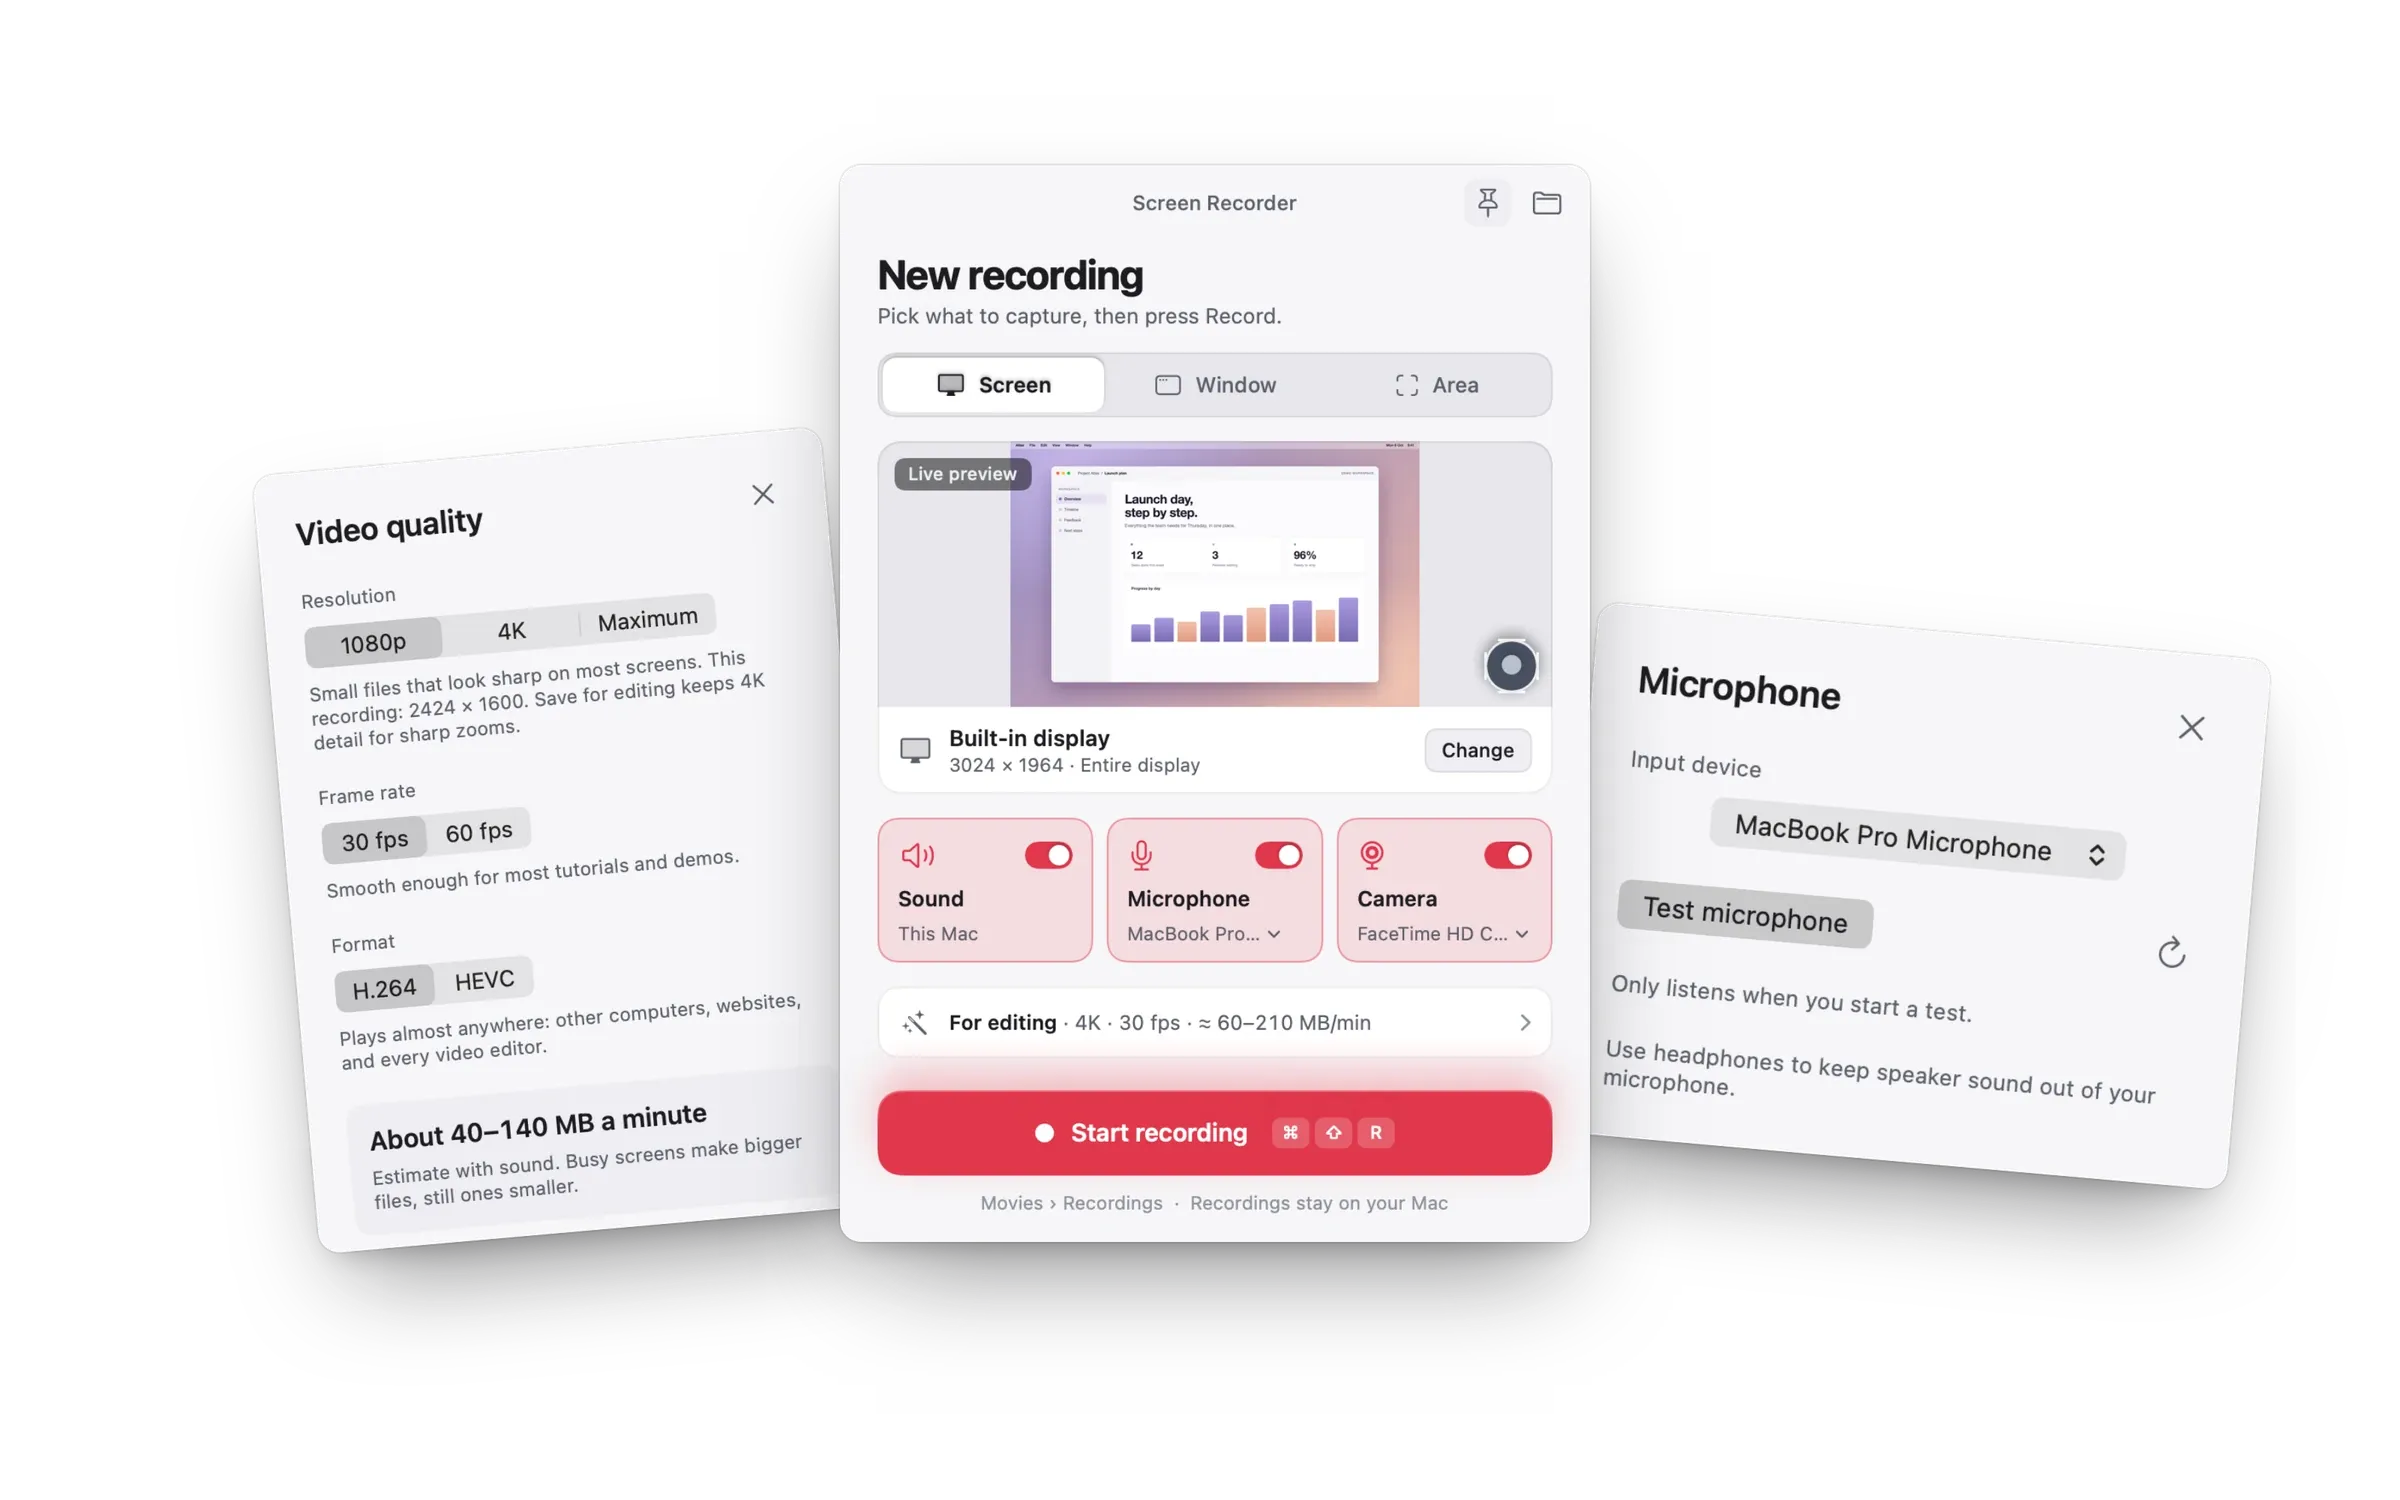
Using Mac Screen Recorder? Stop from the floating bar or the menu bar. Recordings are saved to a Recordings folder in Movies, unless you choose another folder.
ALL GUIDES
Guides for demos, tutorials and a calmer Mac.
Short, practical reads you can finish before your next take.