Onboarding videos
Walk new users or teammates through setup once, then send the same video to everyone who joins.
 mac screen recorderDownload for Mac
Record your Mac screen and your camera, then edit with zooms, captions and layouts. Here is how makers, teachers, creators and teams use it.
Start with the result, walk through the one interaction that matters, and leave your audience with a clear next step. A focused product demo can explain what a paragraph can’t.
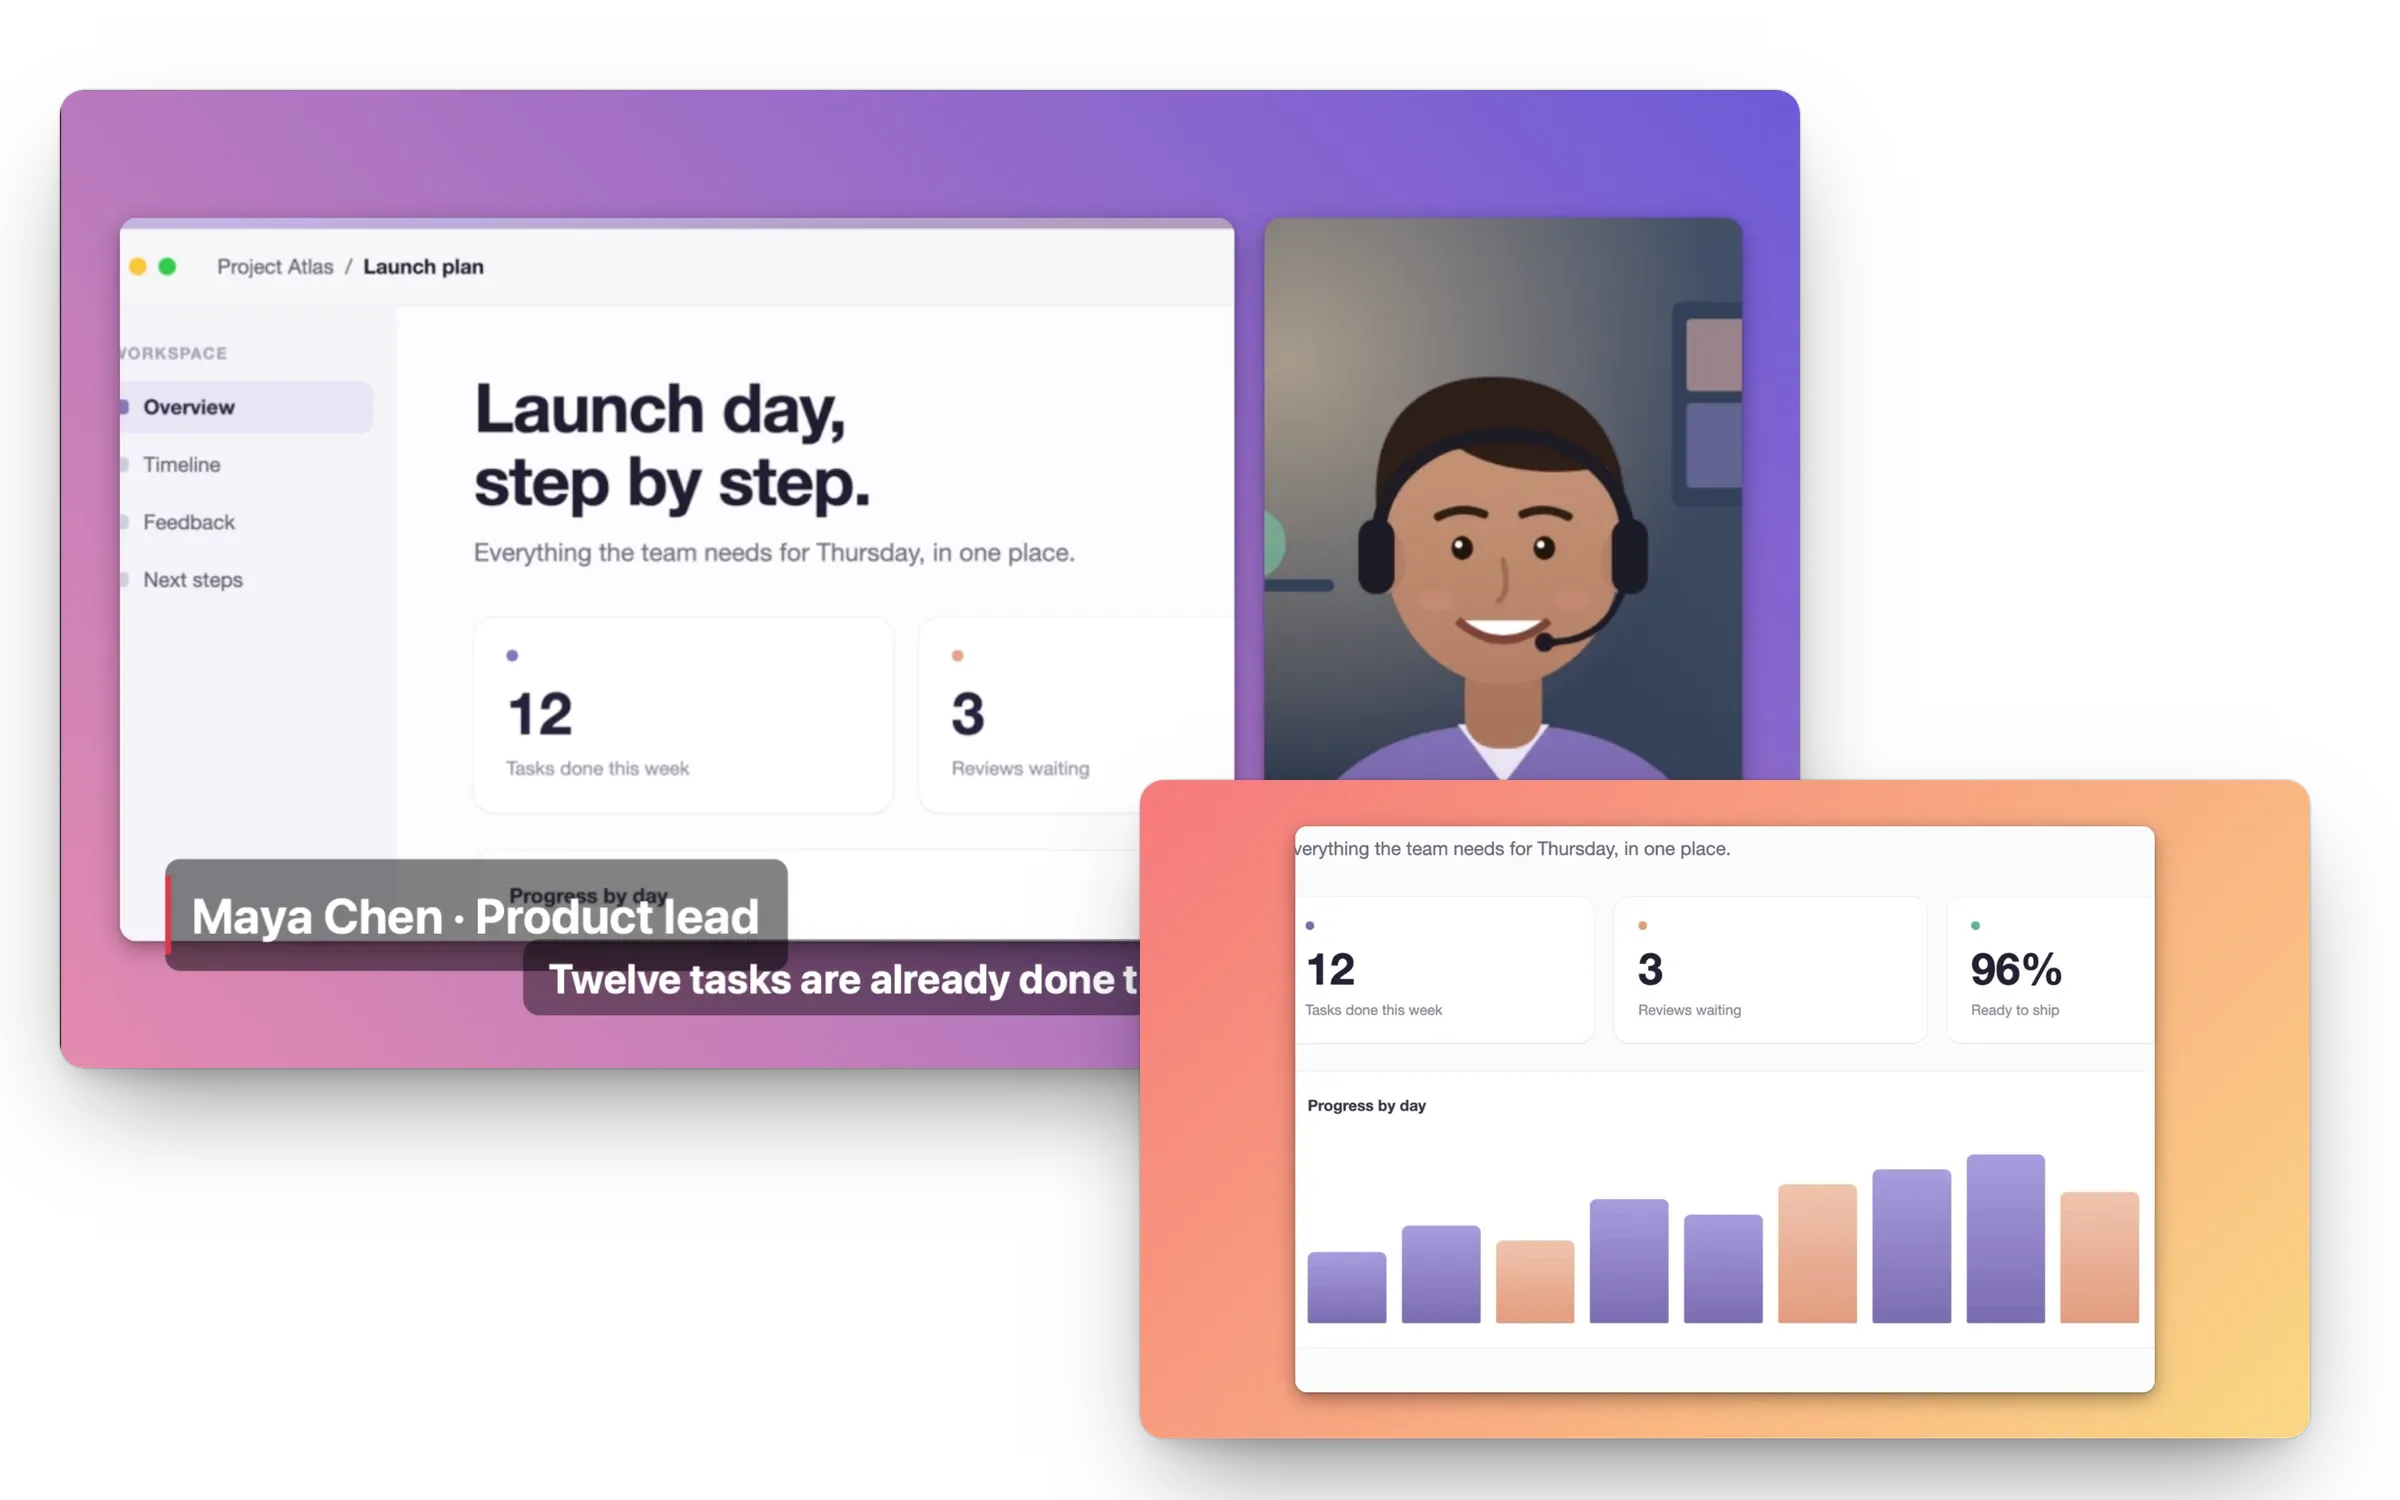
A tutorial works best when the viewer can follow along. Break the process into a few steps and let the screen do the heavy lifting.
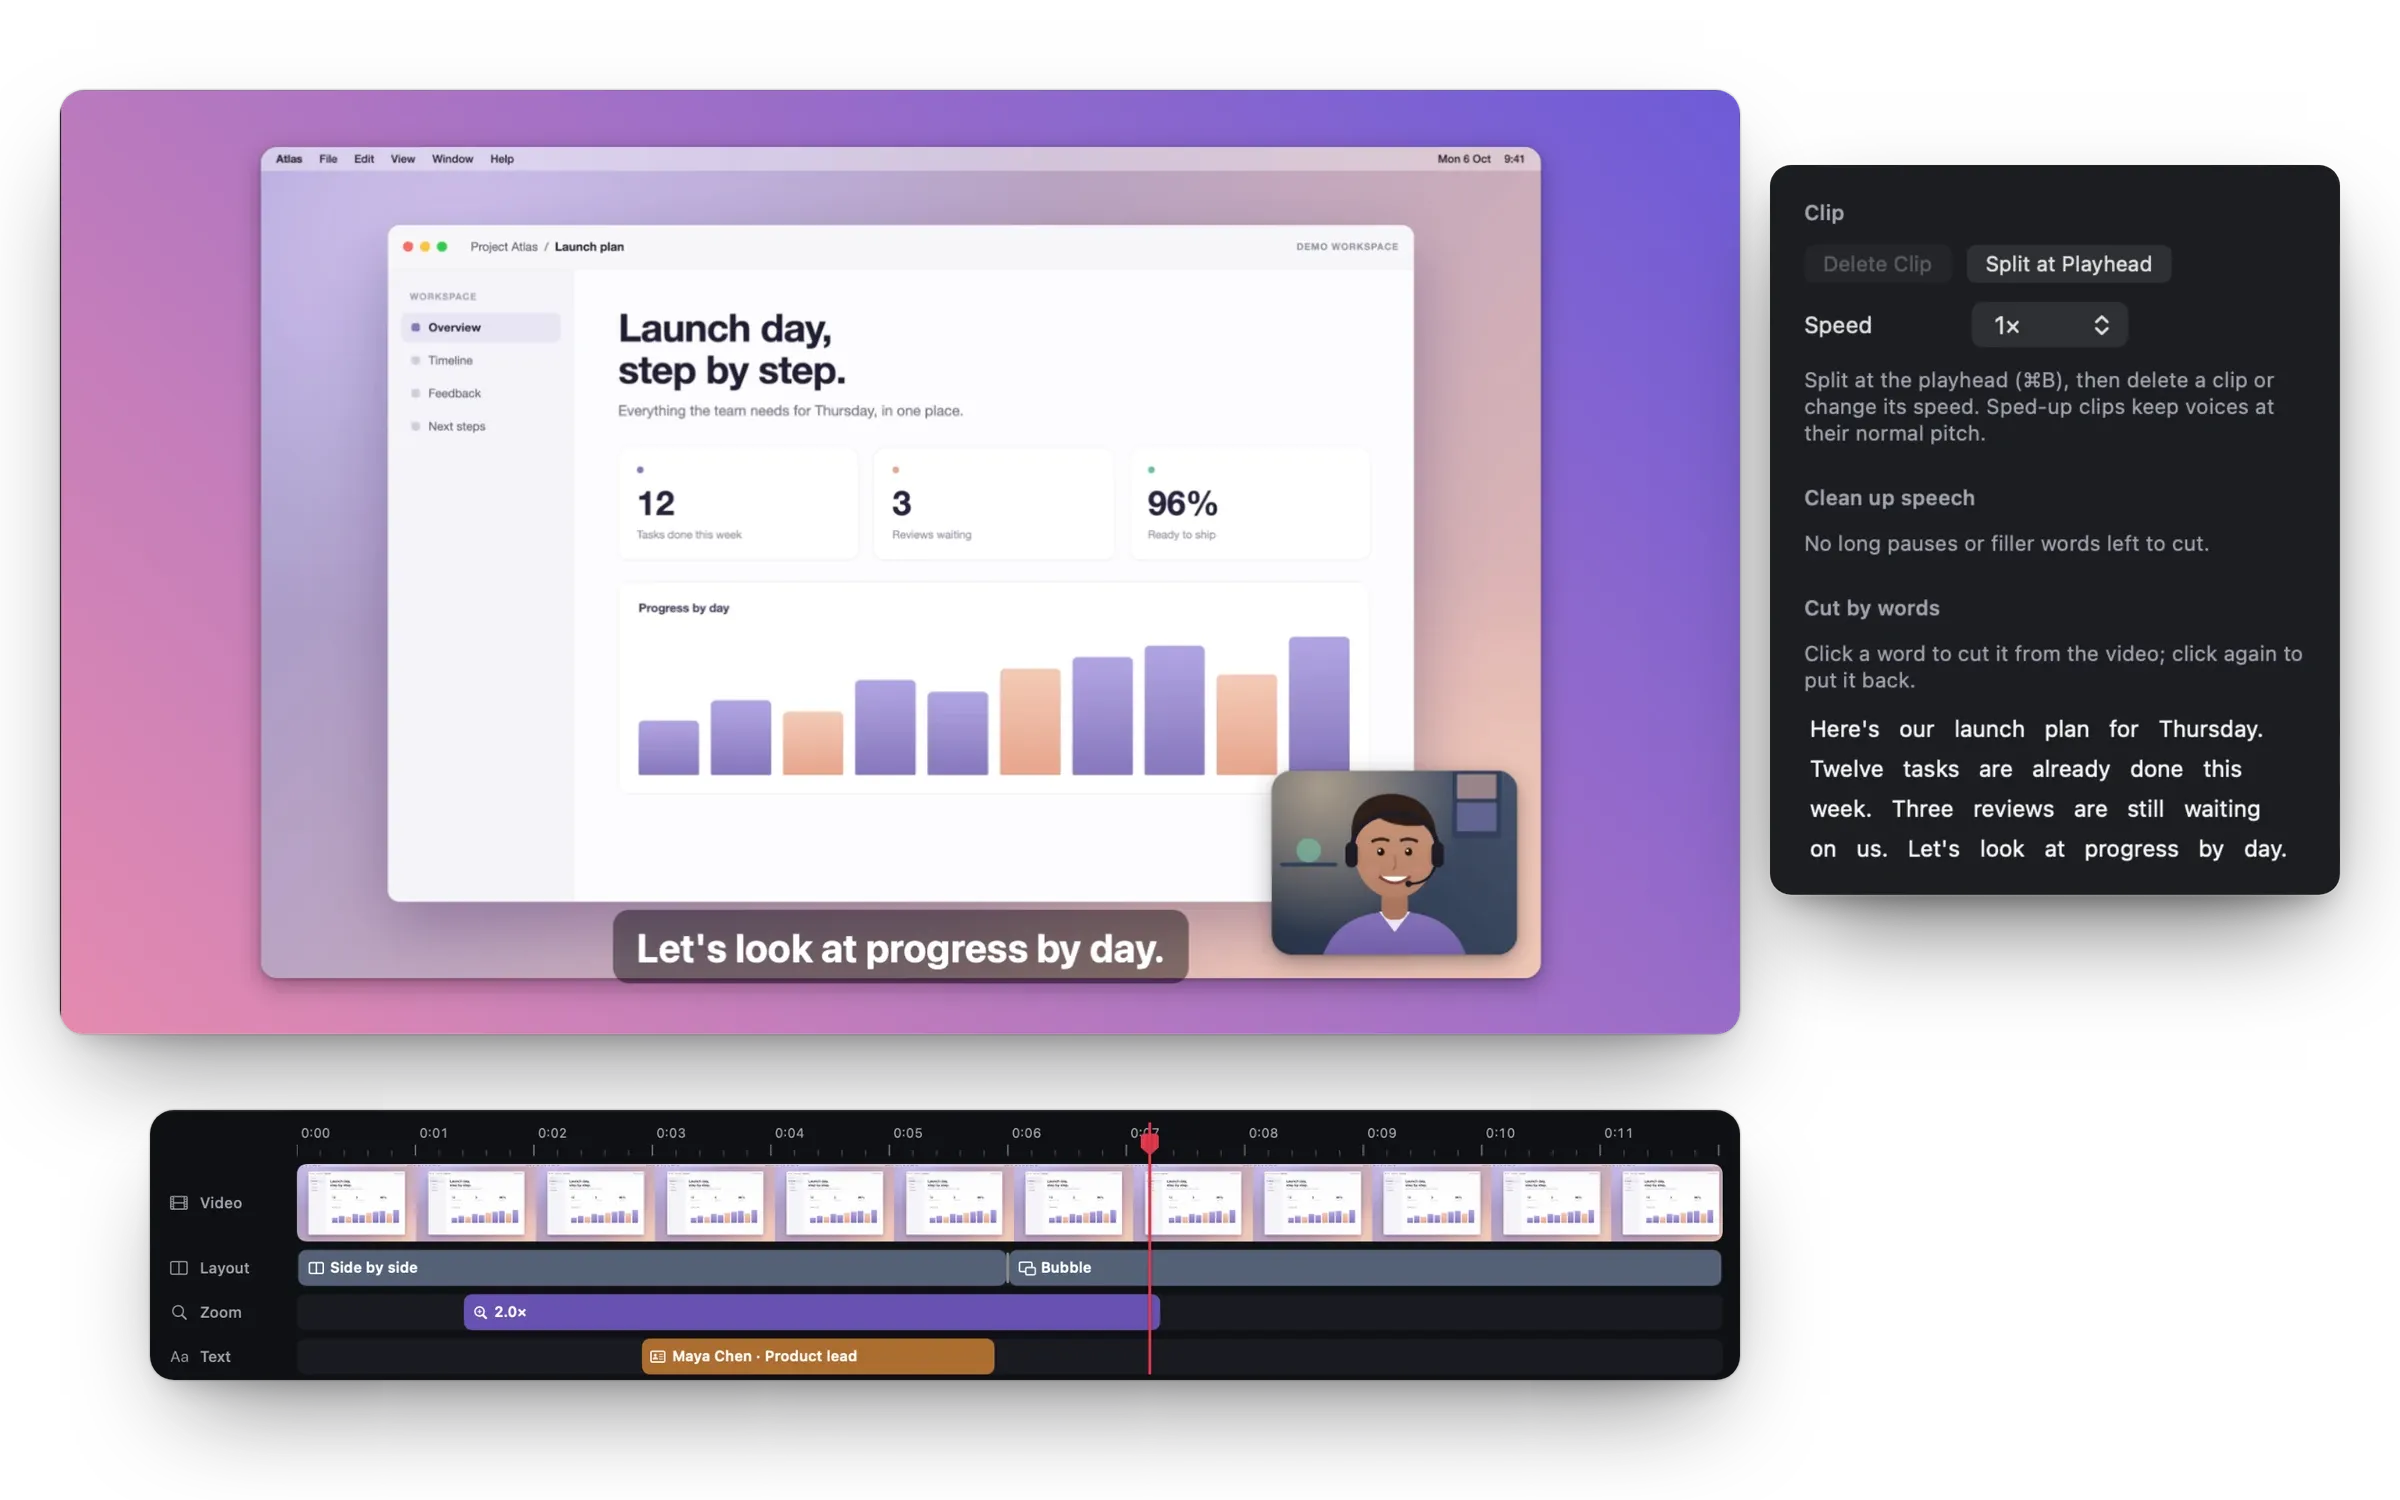
Record once, then publish everywhere: a wide video for your channel and a tall cut for Shorts, Reels and TikTok, with your face where it belongs.
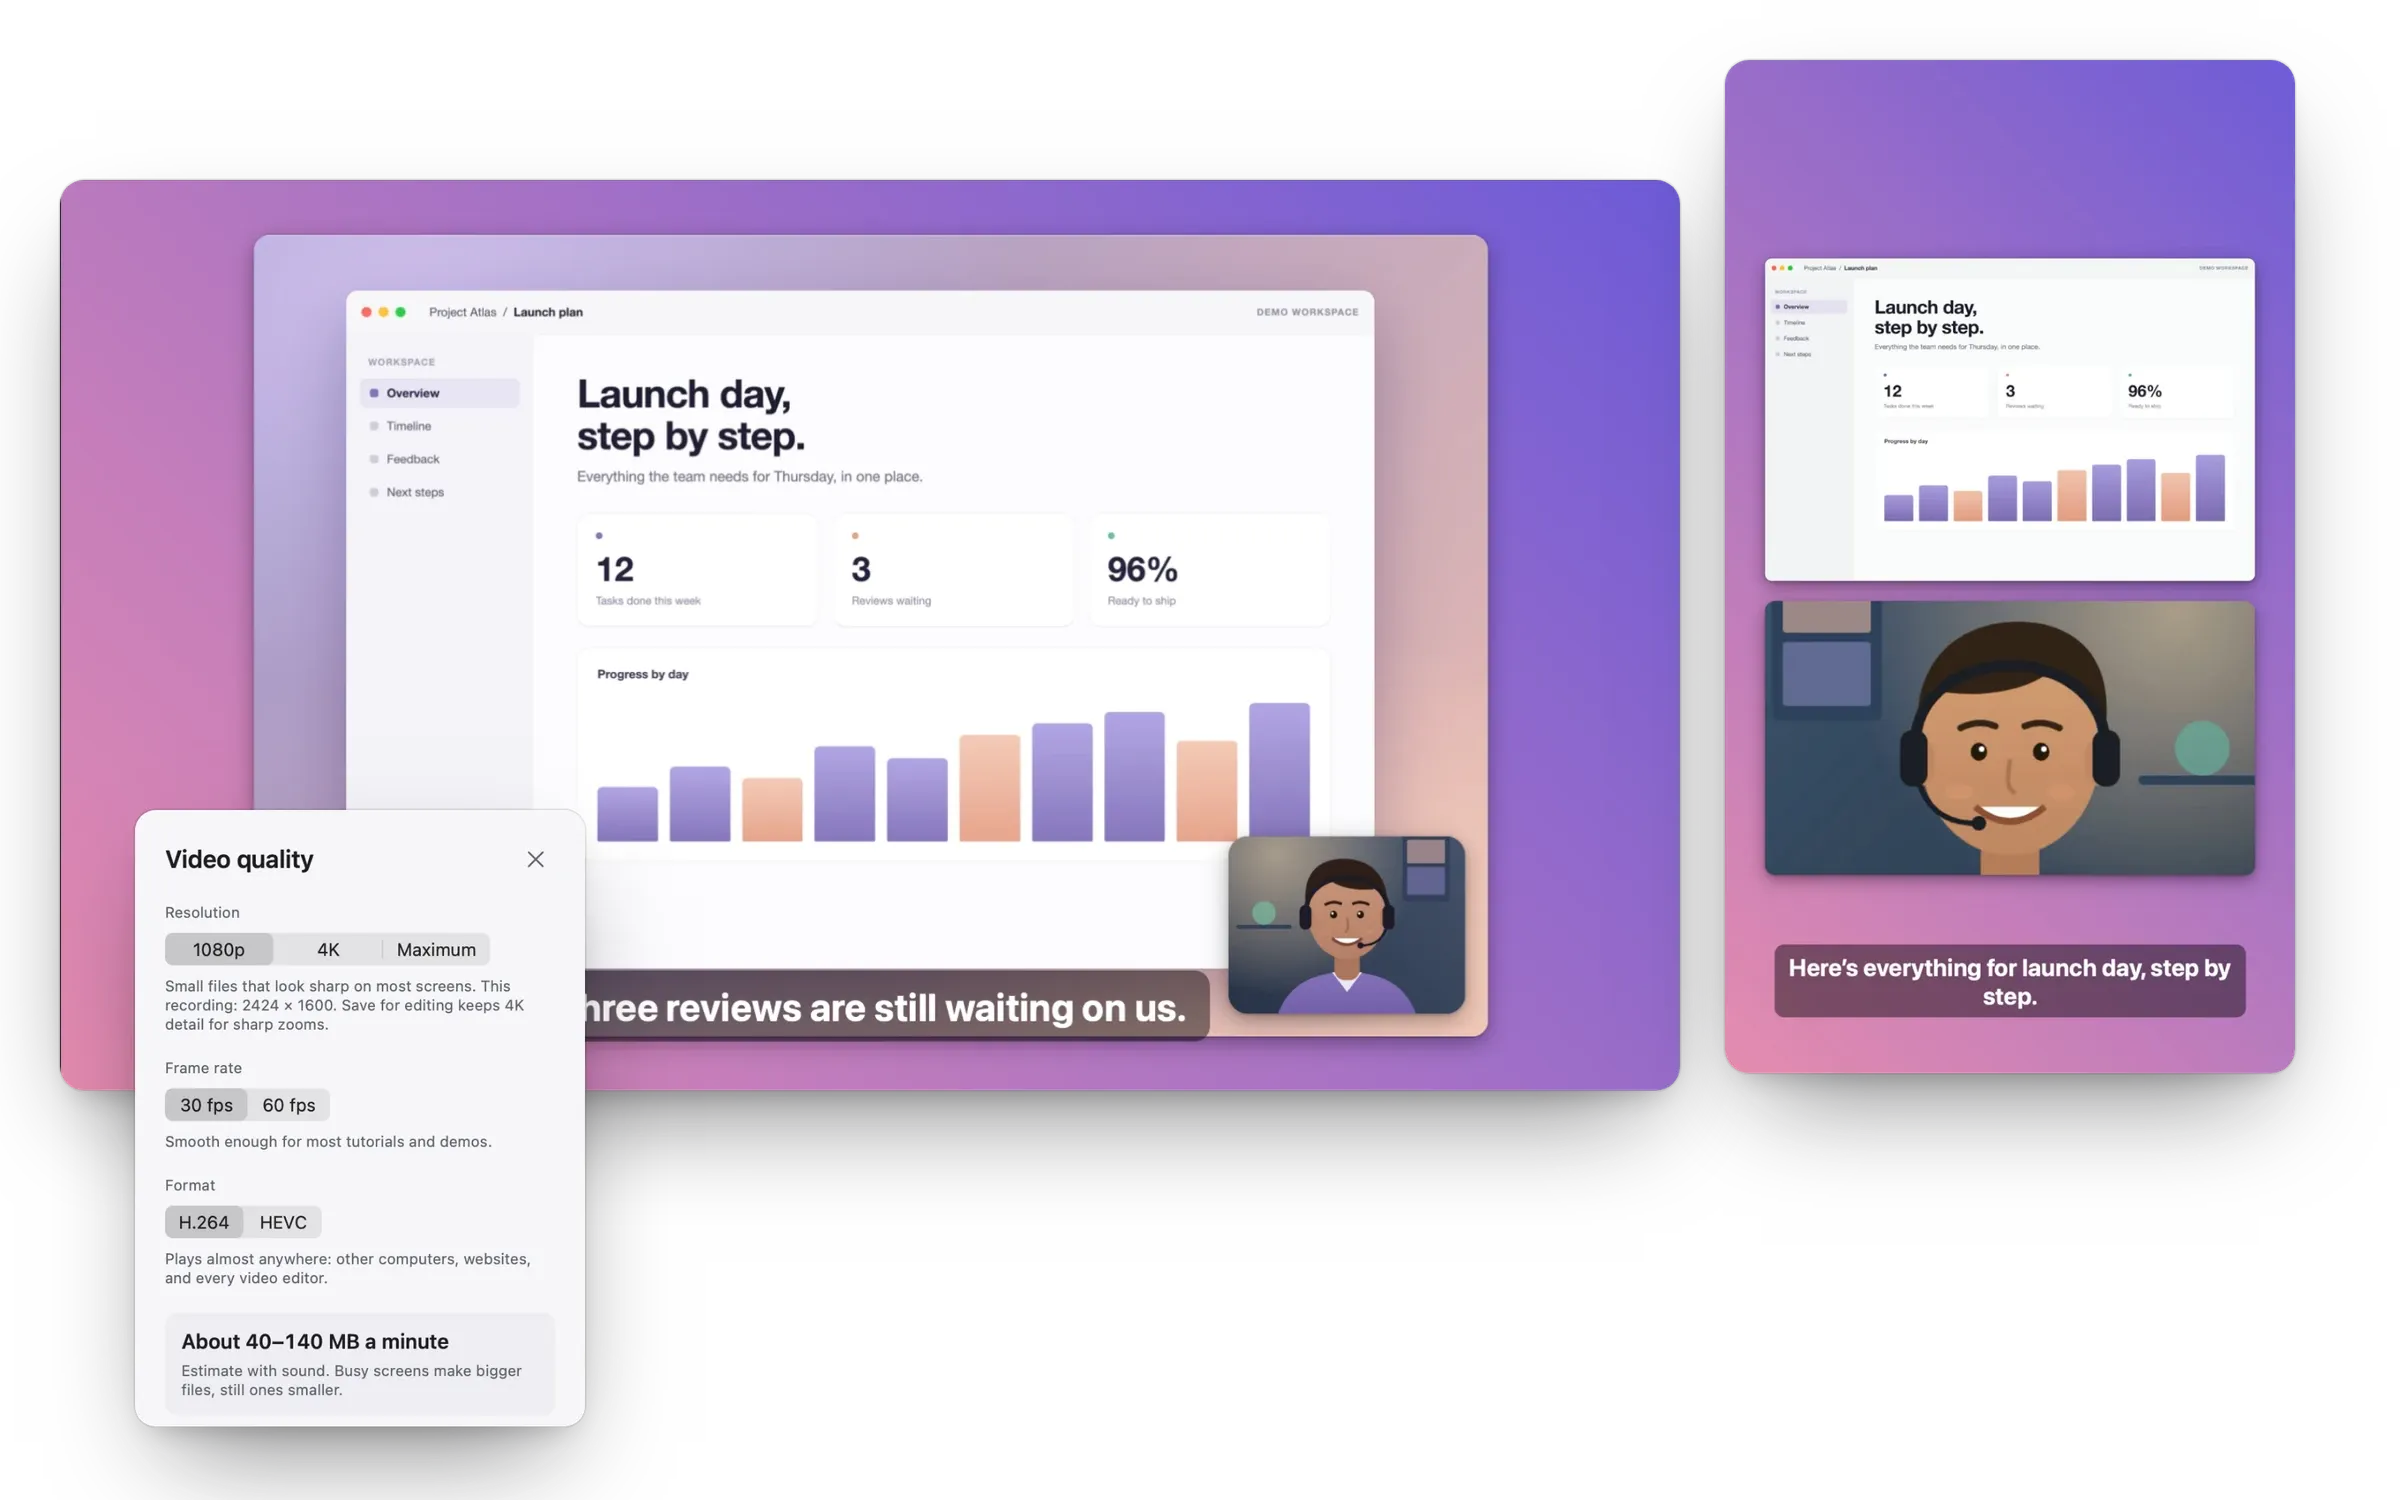
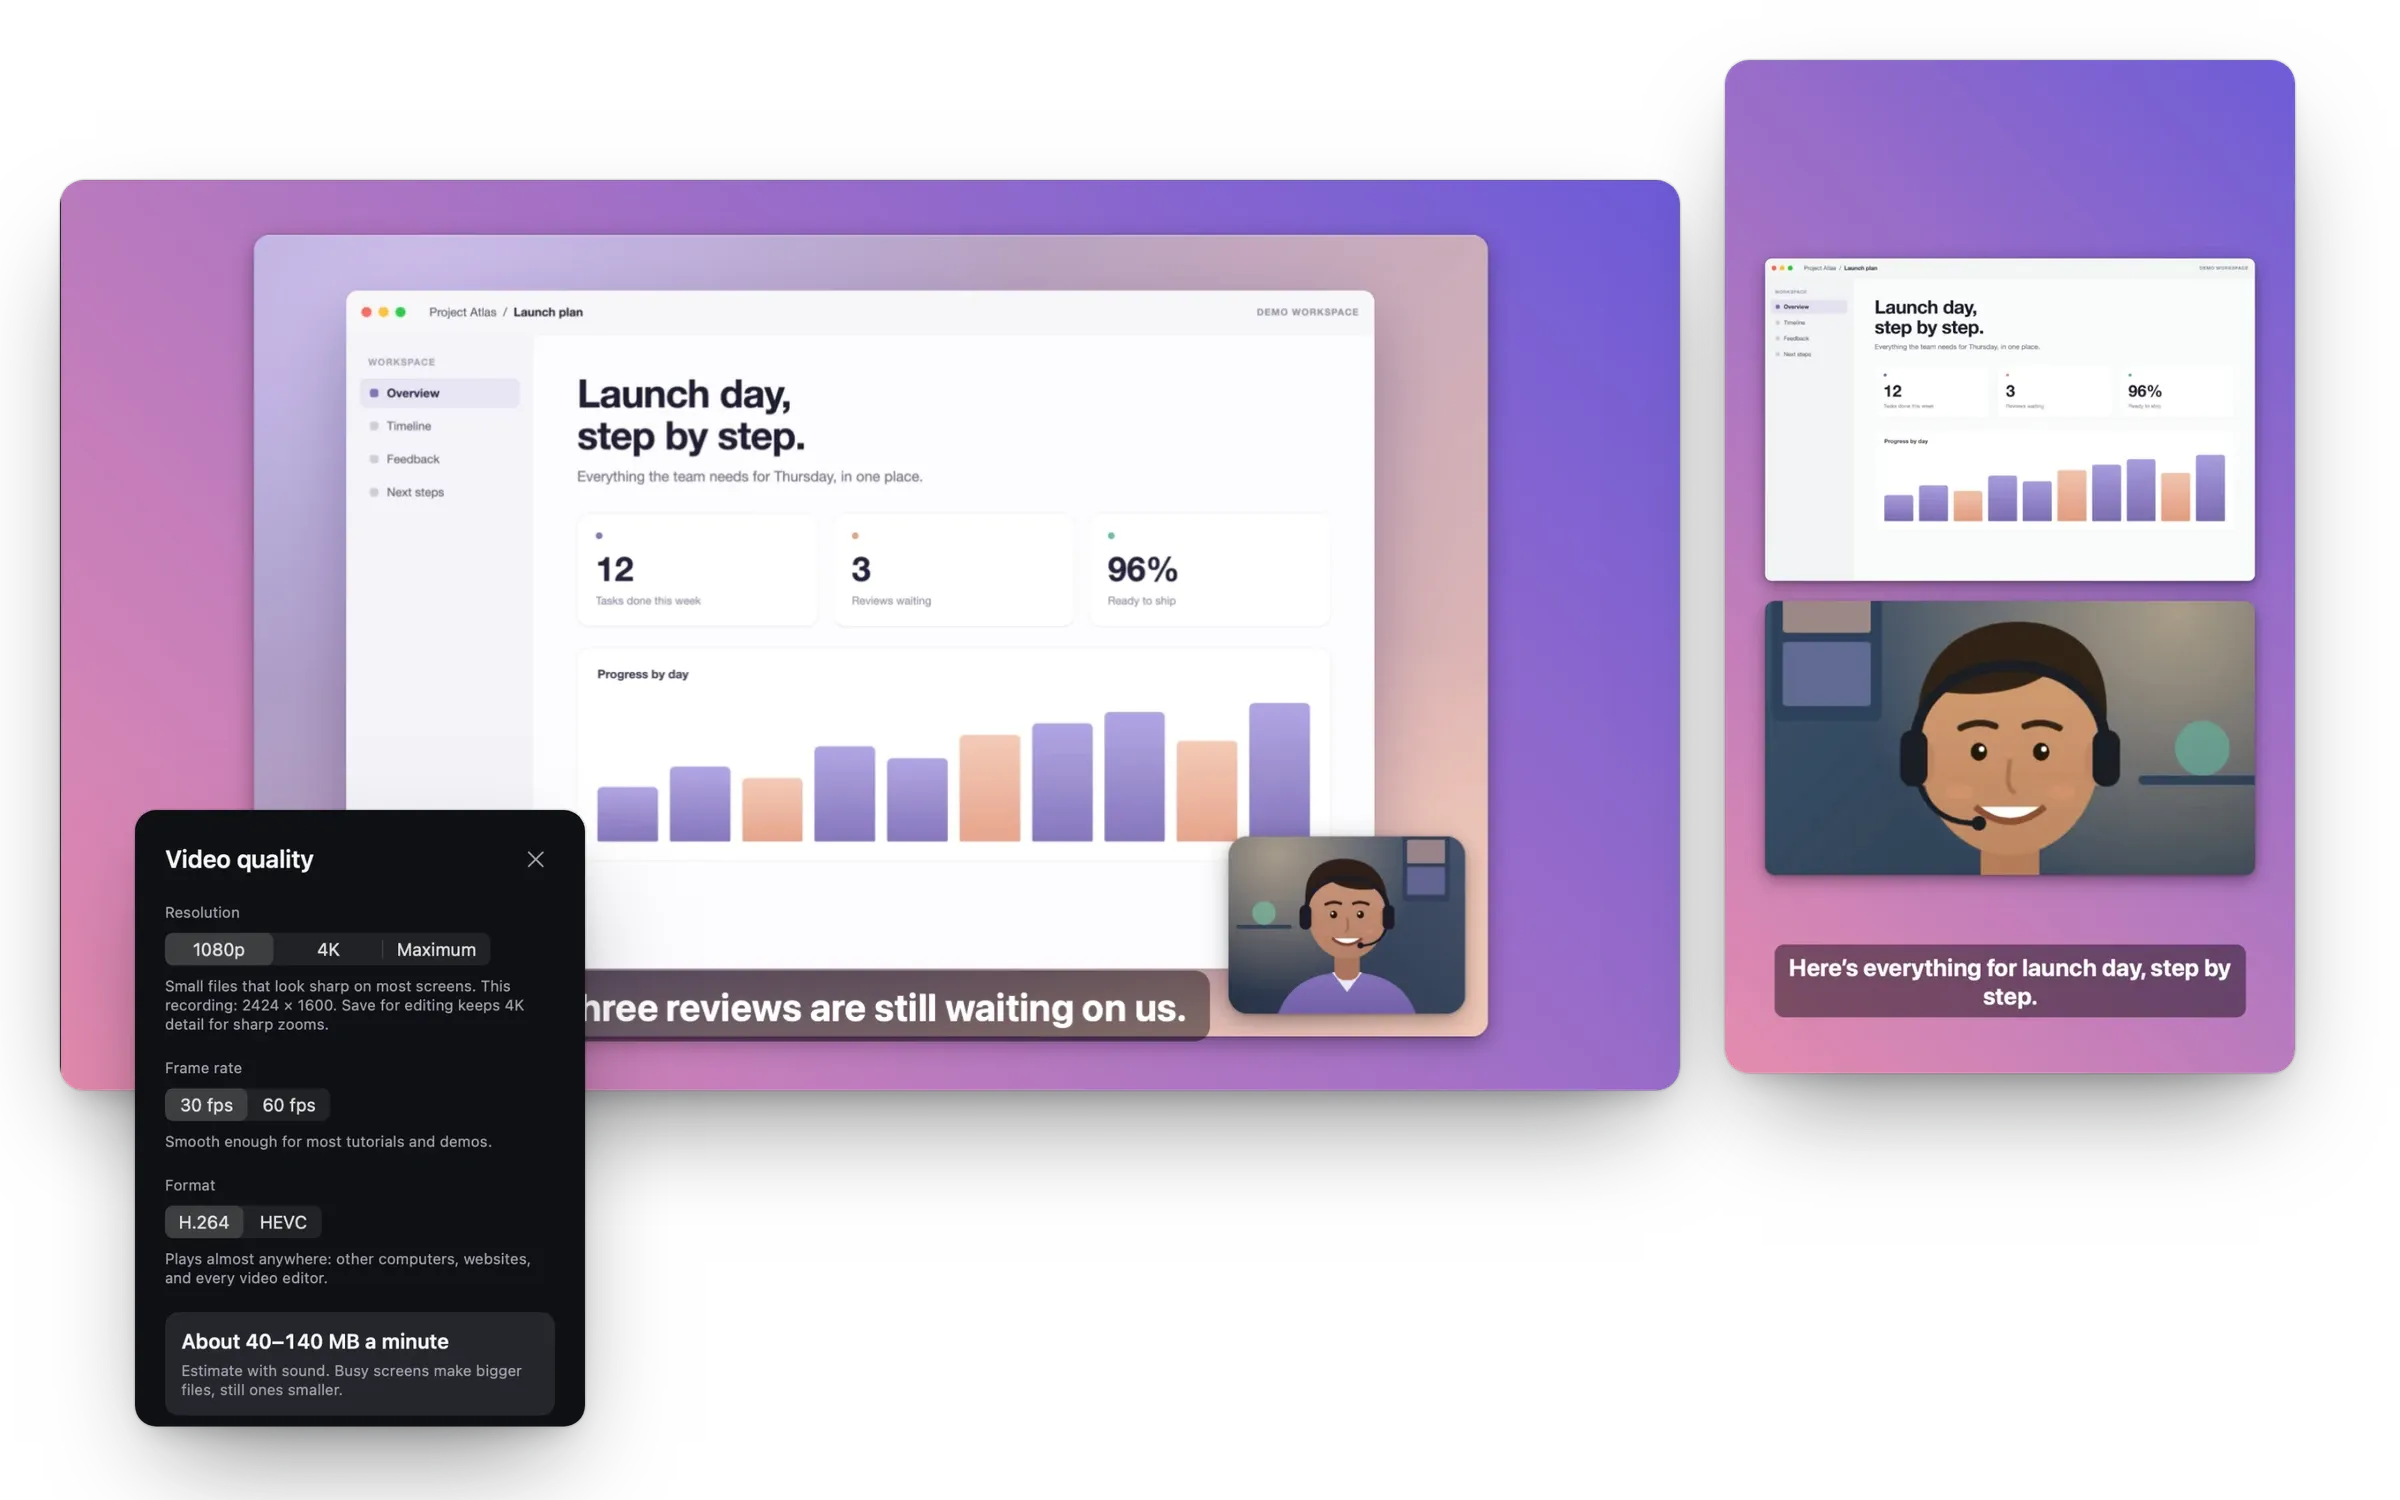
Give a teammate a useful tour of a bug, a design decision, or a work-in-progress. Keep the recording short enough to watch between meetings.
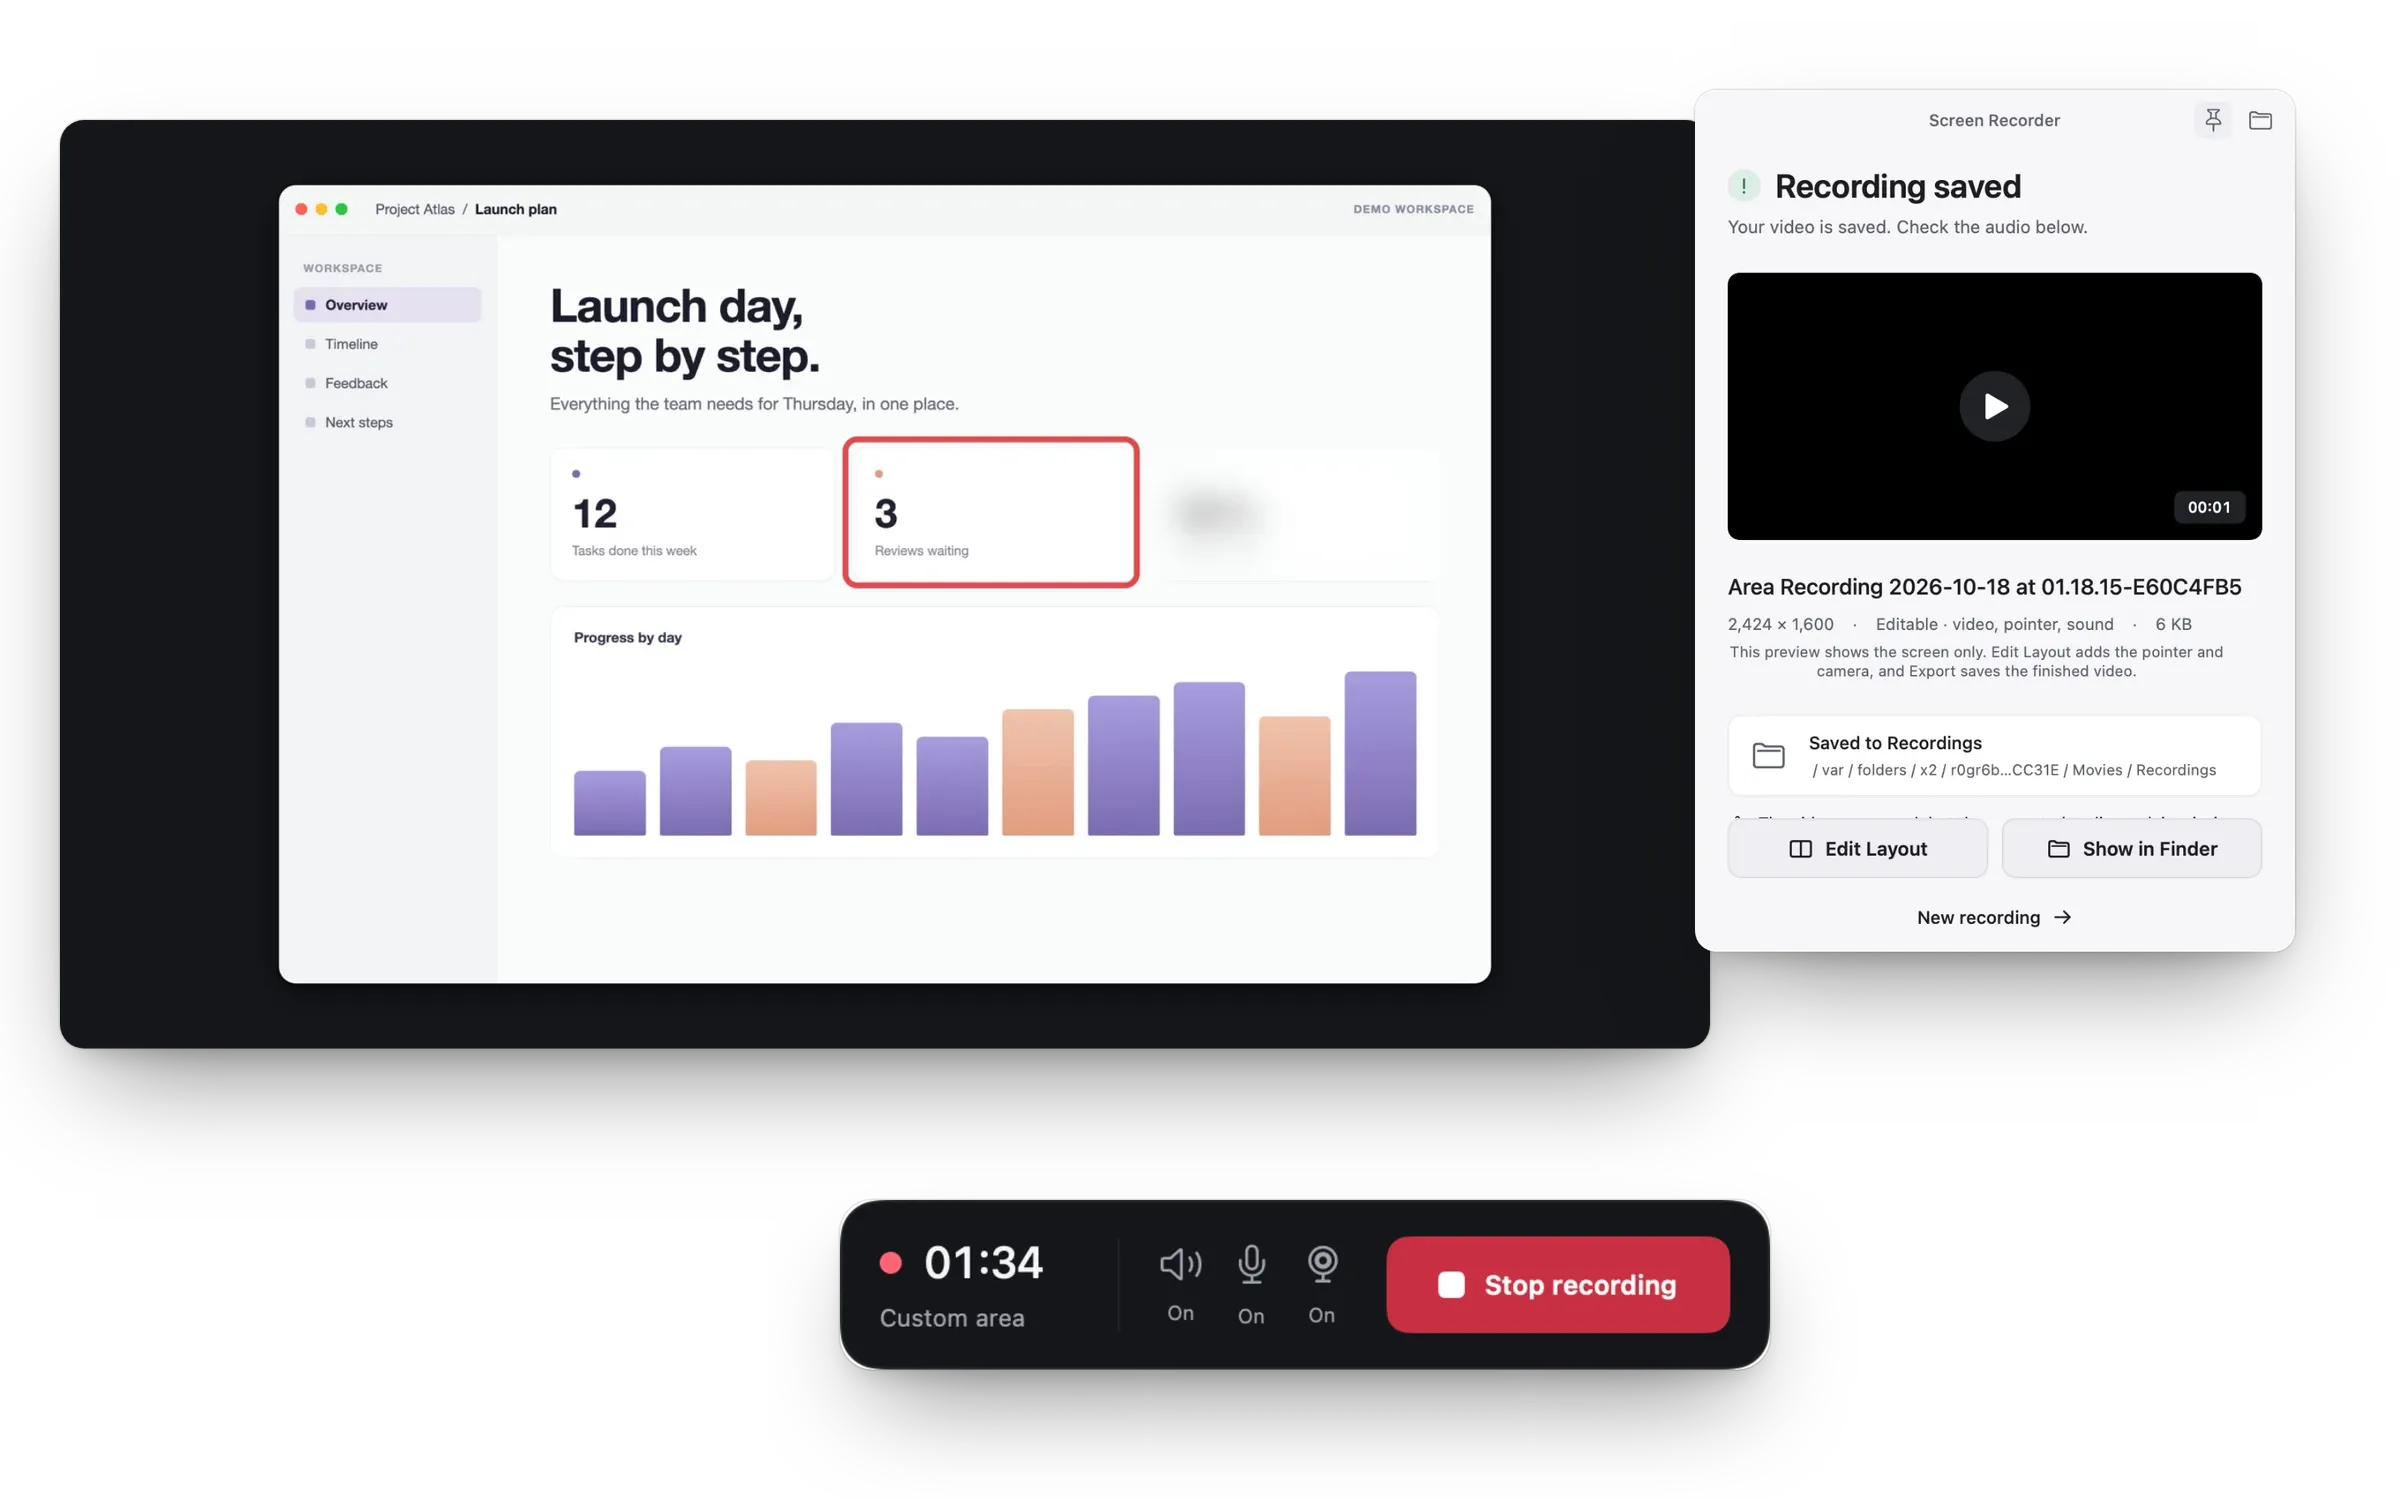
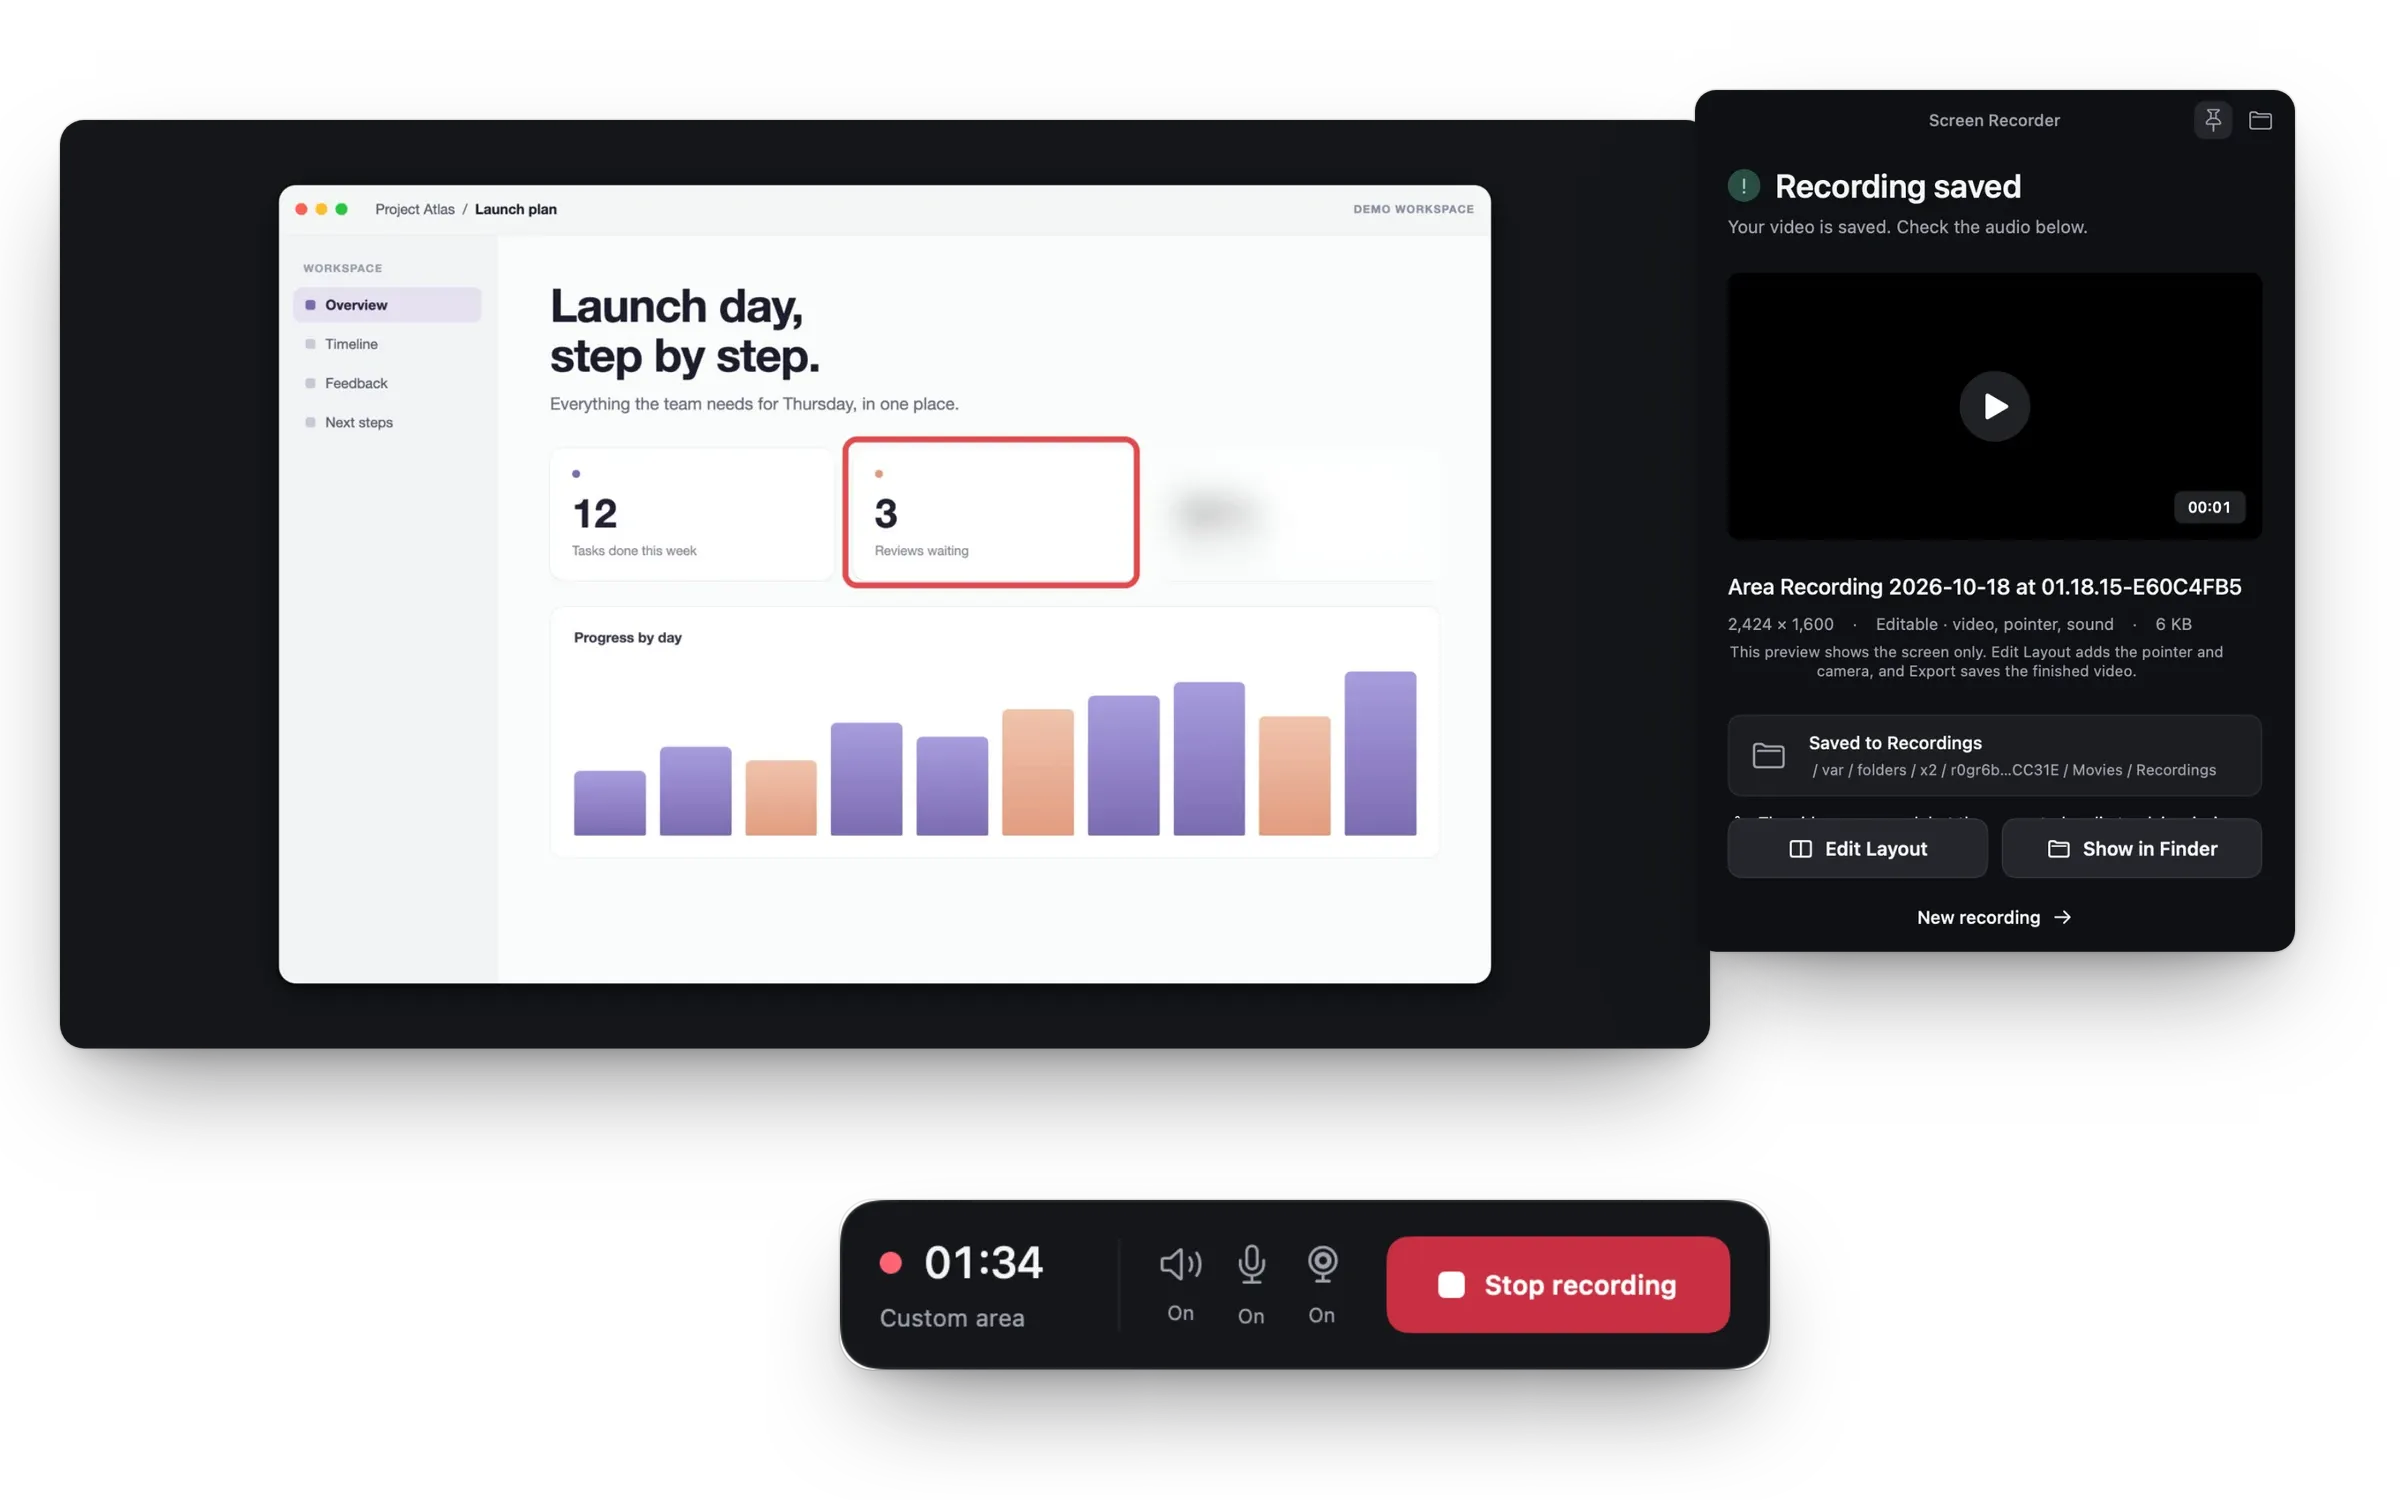
Walk new users or teammates through setup once, then send the same video to everyone who joins.
Record your slides with your camera in a bubble and your microphone, then cut the pauses before you share.
Record the window where it goes wrong, blur anything private, and attach the MP4 to the ticket.
If you use Loom for quick updates: Mac Screen Recorder records and edits on your Mac and saves an MP4 you can send any way you like. It doesn't host videos or make share links.
Yes. Record the slides window or the whole screen with your camera in a bubble and your microphone, then cut the pauses in the editor.
Export 9:16 for Shorts, Reels and TikTok, and 16:9 for a regular YouTube video. Both come from the same recording.
Yes. Captions are made on your Mac from what you said; you can edit and style them and export them as a subtitle file.
Record a single window instead of the whole screen, and blur or pixelate anything private in the editor before you share.
For every Mac with Apple silicon. Set up in a minute.