
How to Screen Record on Mac with Internal Audio
Capture the sound playing on your Mac along with your screen. Start with the right audio source, then check a short take before recording the whole thing.
The short answer
To screen record on Mac with internal audio, choose a recorder that captures system audio and enable that source. A microphone setting captures your voice or room sound; it does not mean the app is recording your computer’s audio directly.
Your built-in options depend on macOS. Check the method below for your version, leave the microphone off if you only want computer sound, and play back a ten-second test.
1. Choose a method for your Mac
Open Apple menu → About This Mac to check your macOS version. You may already have the recording option you need.
| Your setup | Where to start |
|---|---|
| macOS 27 or later | Apple documents an Include System Audio option in the Screenshot toolbar. Try the built-in method below. |
| Apple Silicon, macOS 15.0+ | Mac Screen Recorder 1.3 shows separate system-audio and microphone controls. See the setup reference below and check a short take. |
| macOS 13+, using OBS | OBS documents native audio capture through its macOS capture sources. You do not always need a virtual audio driver. |
| An older Mac or older recording software | Check that recorder’s requirements. Some setups need audio-routing software; instructions for a newer OS may not apply. |
The built-in Screenshot option
On supported macOS versions, press Shift + Command + 5, choose the entire screen, a selected portion or (in macOS Tahoe 26 or later) a single window, then open Options. Enable Include System Audio if available. Select a microphone only if you also want narration. Record, stop, and listen to the saved result.
Apple lists system-audio capture for macOS 27+. If that option is absent, selecting a microphone alone is not an equivalent setting. See Apple’s current screen-recording instructions for version-specific controls.
If you already use OBS
OBS Studio 30+ on macOS 13+ offers a macOS Audio Capture source; its macOS Screen Capture source can capture audio too. Follow the official OBS audio-capture guide for your version. Avoid adding the same sound through two sources, which can produce doubled audio.
2. Internal audio is different from microphone audio
Internal audio, system audio, and computer audio usually mean the sound produced by apps on your Mac: a presentation, a browser video, or an application’s sound effects. Microphone audio is the sound entering an input device, such as your voice.
- Computer sound only: enable system audio and disable the microphone.
- A narrated software demo: use system audio plus your chosen microphone.
- Your voice only: enable the microphone and disable system audio.
Using the microphone to pick up your speakers also captures the room and can create echo. Headphones help separate the audio you are monitoring from the voice you are recording.
3. Set up the controls in Mac Screen Recorder
The 1.3 release is available for Apple Silicon Macs running macOS 15.0 or later. Single-window recording requires macOS 15.2+. Check compatibility and download the current version.
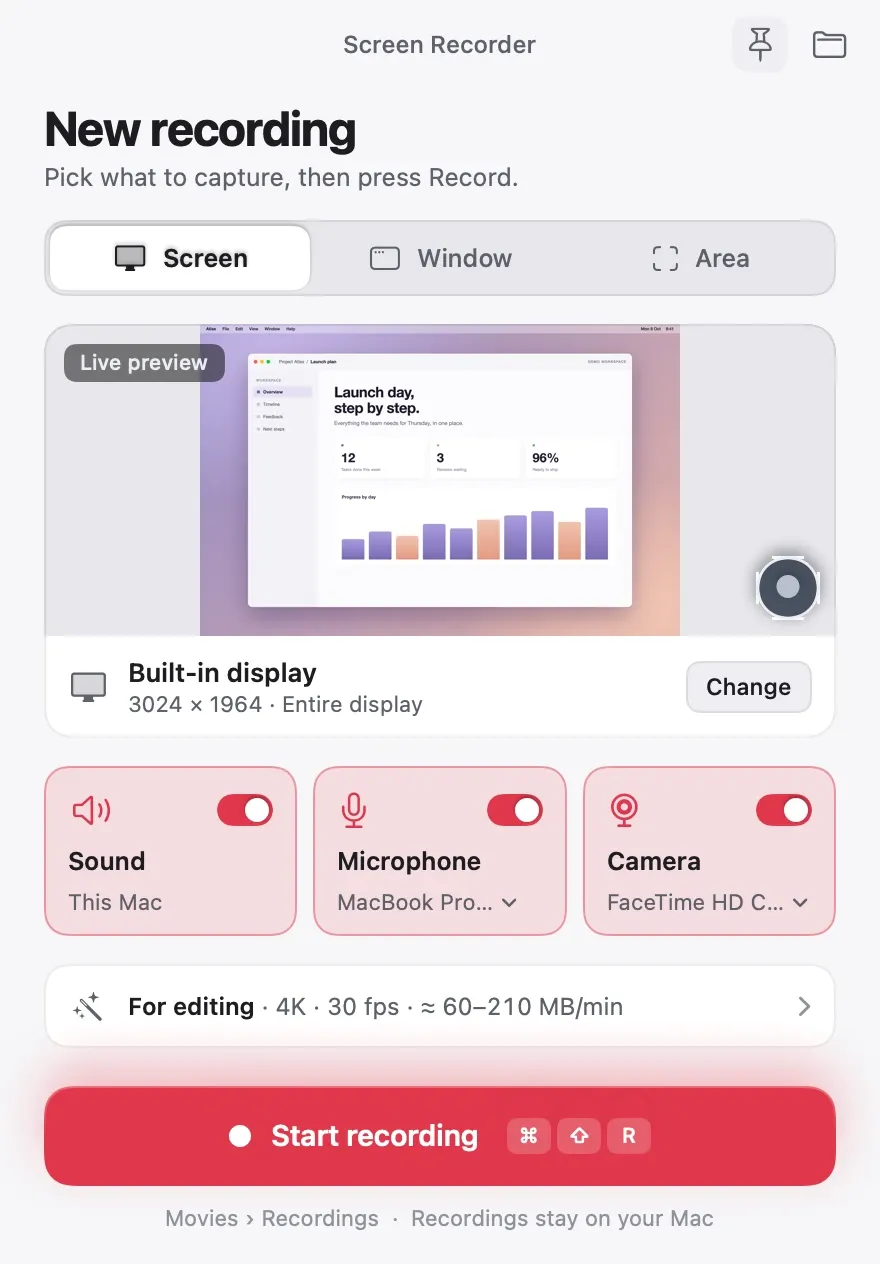
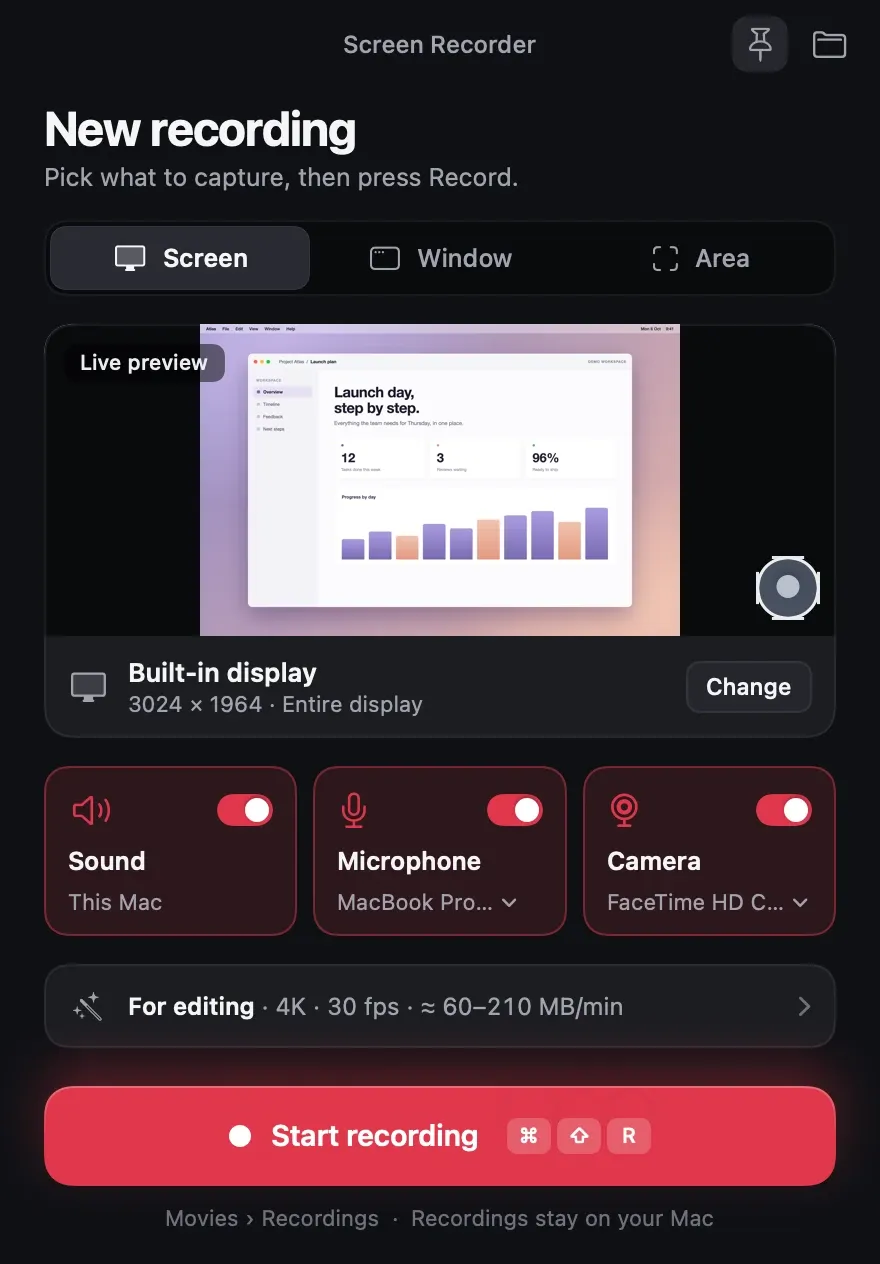
- Choose what to capture. Pick Screen, Window or Area for the content you want to show. Close unrelated content and silence notifications first.
- Turn on Sound. Its card reads “This Mac”: that is the sound playing on your Mac, such as a video or an app.
- Choose whether to include your voice. Turn Microphone off for computer sound alone. Turn it on when you want narration, and check the input shown on its card.
- Check the save location. The folder is shown under Start recording: Movies › Recordings, unless you choose another.
- Start a short recording. Play the test sound below, stop, and preview the saved video before making a longer take.
These steps follow the version 1.3 recorder window. Use the short check below to confirm that your setup records the sound you expect.
4. Make a ten-second audio test
Use a harmless test before recording a presentation or tutorial. This original three-tone clip gives you a recognizable sound to listen for in the saved video.
Test sound: three gentle tones over three seconds. Set a comfortable listening volume before pressing play.
This player only plays a sound. It does not record your screen or request microphone access.
- Start a screen recording with system audio on and microphone off.
- Play the three-tone clip, wait a moment, then stop recording.
- Play the saved video. Check that you hear three clear tones and see the intended screen area.
- If you need narration, repeat with the microphone enabled and say a short sentence. Confirm both your voice and the tones are audible.
The clip playing in your browser is not proof that it was recorded. The check is complete only when you hear it in the saved video. Prepare the rest of your take with our Mac recording checklist.
5. What to check if the recording has no sound
- You hear your voice, but not the app.
- Check that system audio is enabled. Microphone input and computer output are different sources; one working does not prove that the other is selected.
- You hear the app, but not your voice.
- Check the microphone toggle, selected input, and microphone access in System Settings. Then repeat a short spoken test.
- Neither source is audible.
- First check the saved video’s playback volume and output device. Then review the recorder’s audio settings and its screen/audio-recording permissions in System Settings → Privacy & Security. Permission labels vary by macOS version.
- The recording echoes or sounds doubled.
- Try headphones and check for duplicate audio sources. When narration is unnecessary, turn the microphone off and repeat the test.
- The test works, but one app does not.
- Check that app’s recording restrictions. Some protected content may not be available for capture. Do not assume an issue with one source means every system-audio recording will fail.
Common questions
Can I record internal audio without BlackHole?
Yes, when your recorder and macOS version support native system-audio capture. The built-in and OBS options above are version-dependent. A virtual audio driver is a solution for some older workflows, not a universal requirement.
Does QuickTime screen recording capture internal audio?
It depends on which controls open. In QuickTime Player, choose File → New Screen Recording. If the Screenshot toolbar appears, the recording is made by Screenshot, so on macOS 27 or later you can choose Include System Audio in Options. If QuickTime’s own Screen Recording window appears instead, it offers only a microphone, which does not record your computer’s audio directly.
Can I record audio without a screen video?
That is a different output requirement. This guide covers a video containing screen and sound. Audio-only export in Mac Screen Recorder has not been confirmed; if you need an audio file, check your tool’s audio-recording and export capabilities first.
Will these instructions work on a MacBook Air?
Check its processor and macOS version, not just the model name. This app’s current download is for Apple Silicon. See the download requirements before installing.
Next: plan a product demo video or browse all recording guides.